
Tags
after, bad shape, before, blog, DIY, do it yourself, floor, Girl Power, humor, insulation, paint, painting the walls, pictures, polyurethane, Remodeling, sanding, shameless plug
Read this!! Read this!!
I am not above a shameless plug.
So for days I have been meaning to get Before and After pictures out here of the various projects that have been happening here at Casa Chaos.
Today is the day.
But being a good procrastinator, it has taken until today to actually get the pictures copied to the PC and ready to go.
As I look at the pictures I cannot help but be filled with gratitude to both My Friend Ann and Texas Linda who have been doing this right along side of me. More like me right along side of them it seems … although they tell me otherwise.
Project #1 – The Front Room aka “Who Knew There Was A Room Out There?”
With all due credit, the front room was started when My Friend Ann said “This carpet is in pretty bad shape. I think we should pull it out.”
For those of you who have not been reading my blog, suffice it to say that the front room … a Sitting Porch … had served many purposes over the years I have lived here. From bedroom to office to store-room … and in the recent past it more closely resembled an 8 X 20 foot litter box for the cats.
The cats no longer live here.
Thanks to a leak in the roof, the ceiling had started to fall in and the carpet was ruined. At the point that the work started, I had no concept of Before and After pictures.
 But here is a picture of the room in mid Ceiling Removal.
There was insulation knee-deep which we removed … and put into around 80 bags.
This amount of insulation was removed … twice … along with the entire wood ceiling and much crud and grime.
It took one day.
Talk about Girl Power!
After removing shelves, lights, velcro, carpet, padding, thousands of staples, carpet strips, and scraping the floor the room was ready to be worked on.
We moved on to painting the walls, sawing open the windows, removing the old glazing, painting the outside, taping off all the glass, scraping and cleaning the glass afterwards.
 The next step was final scraping of the floor and several coats of paint.
Then the removal of the ceiling, the insulation and all the other assorted grime above the ceiling.
Here is the room as it looks today … and once the roof gets fixed a bit more, there will be an area carpet, curtains and a few more odds and ends added to the room.
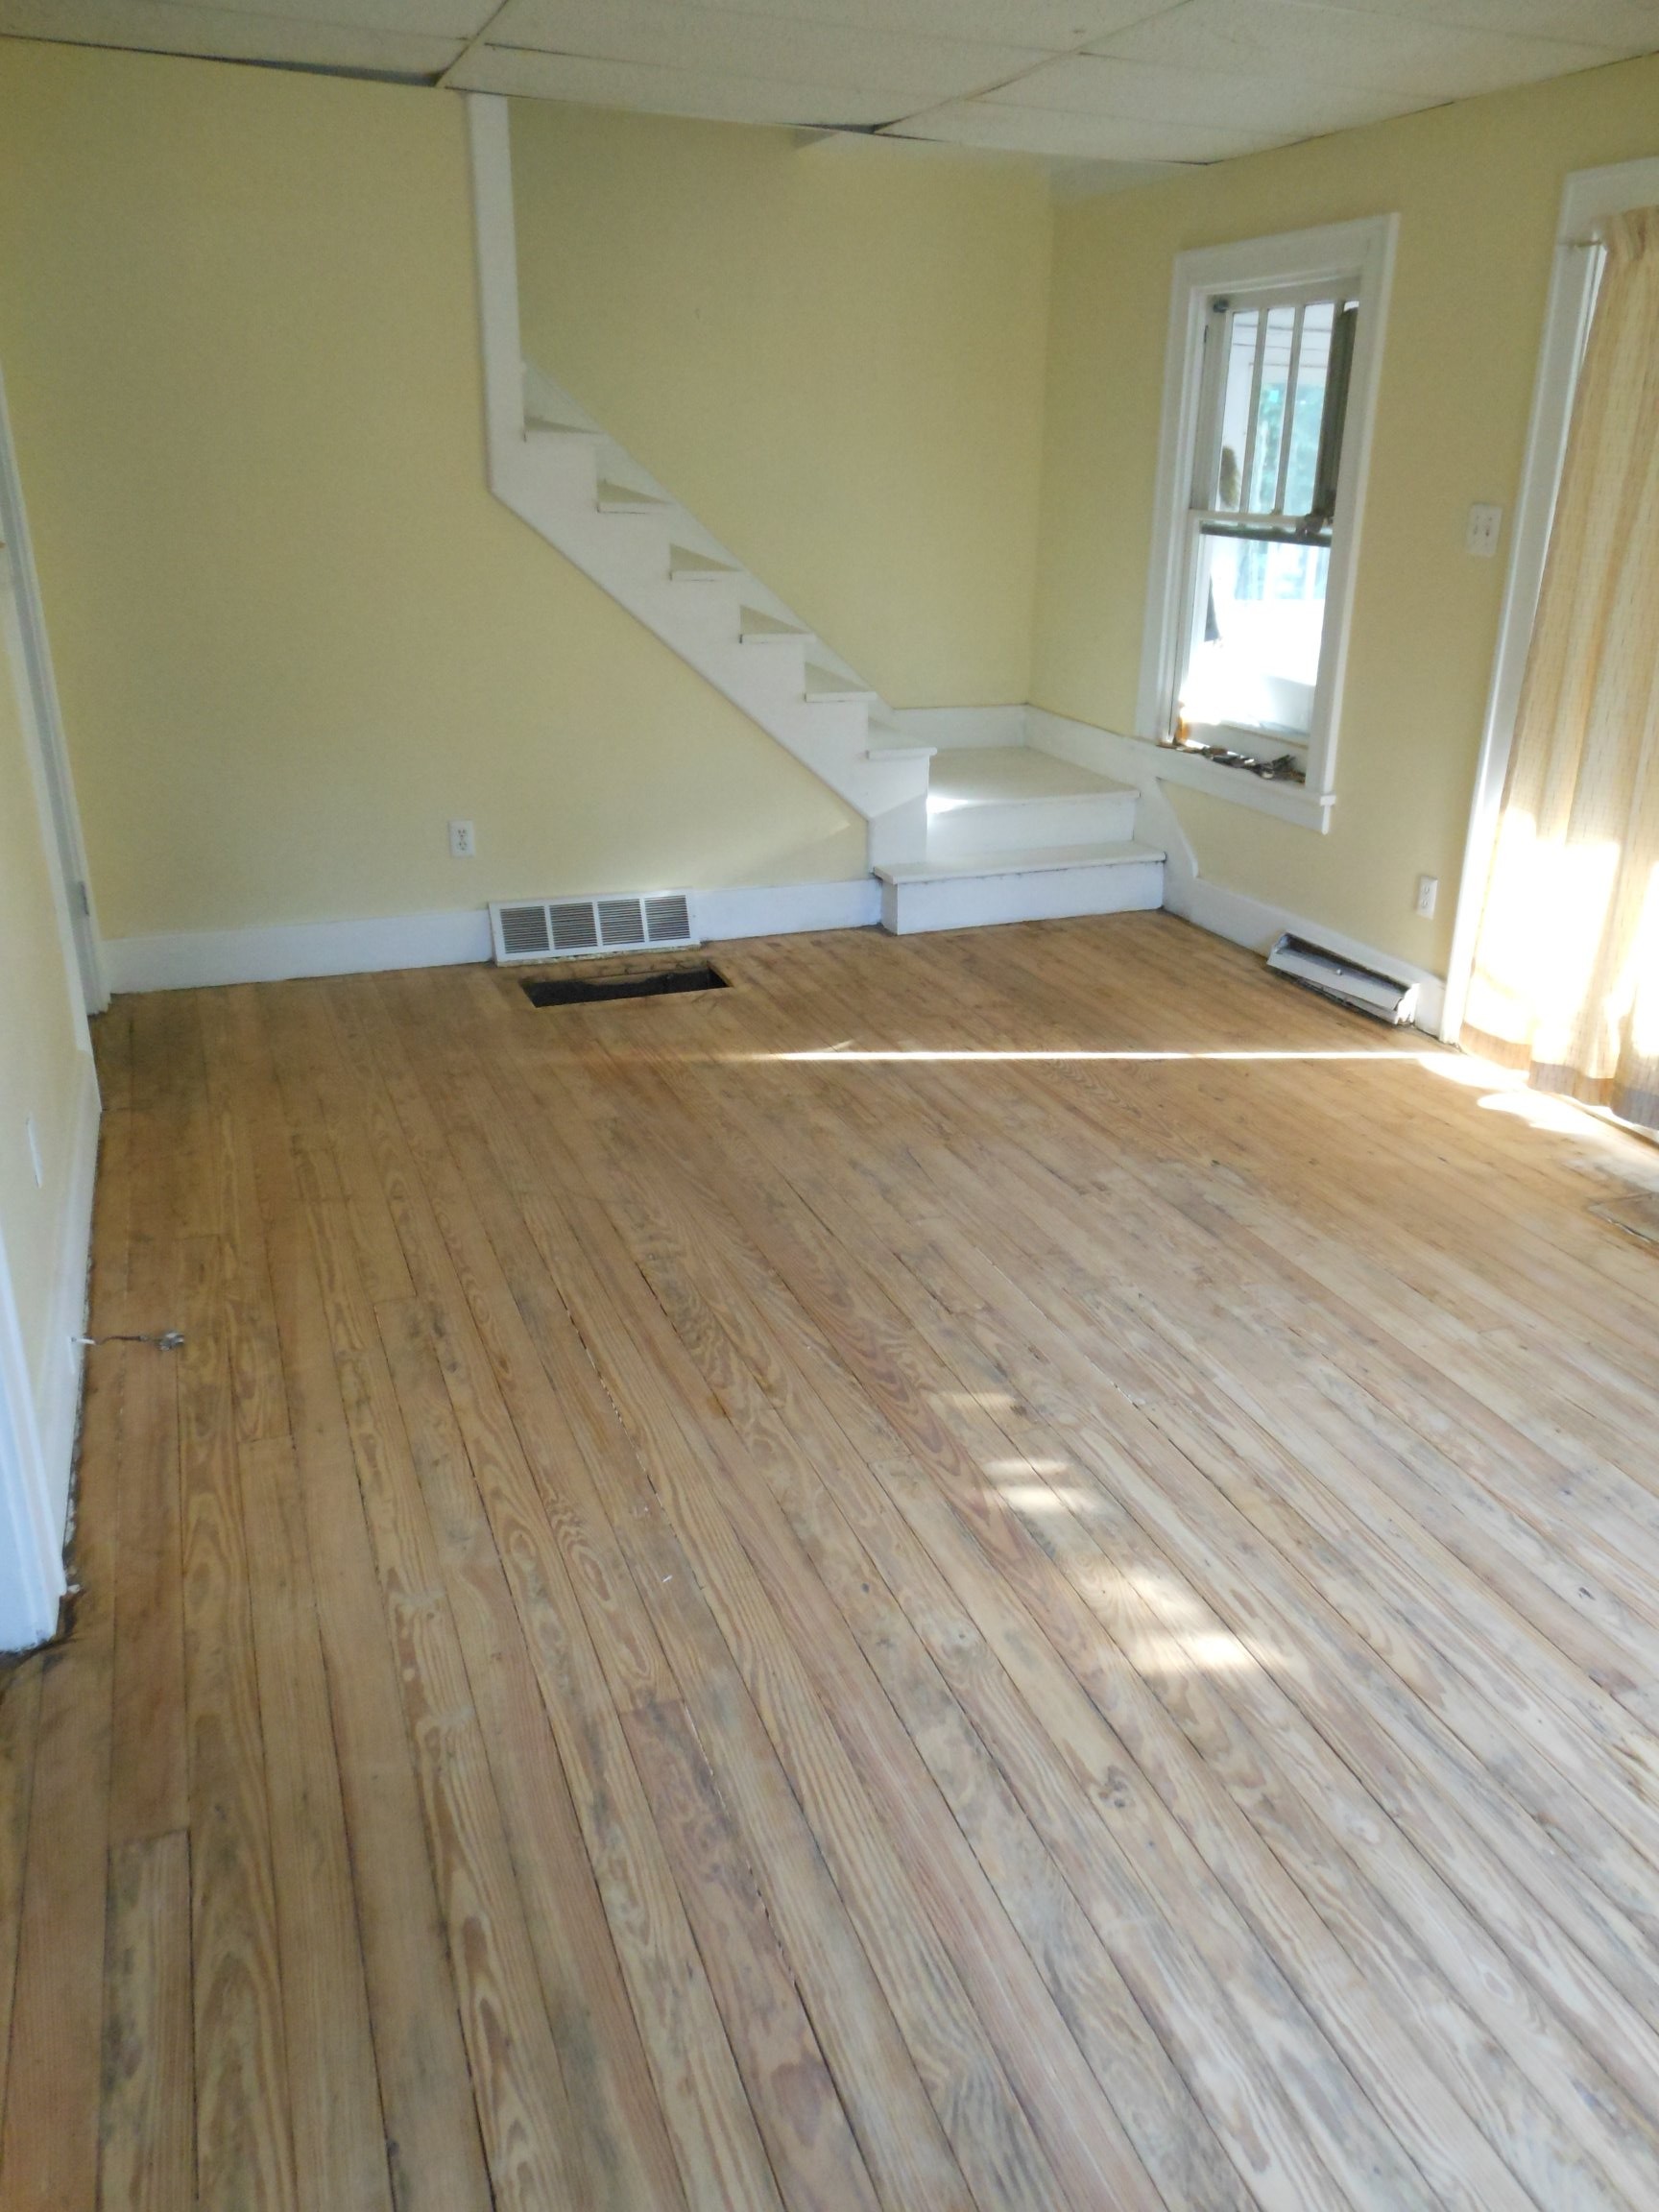
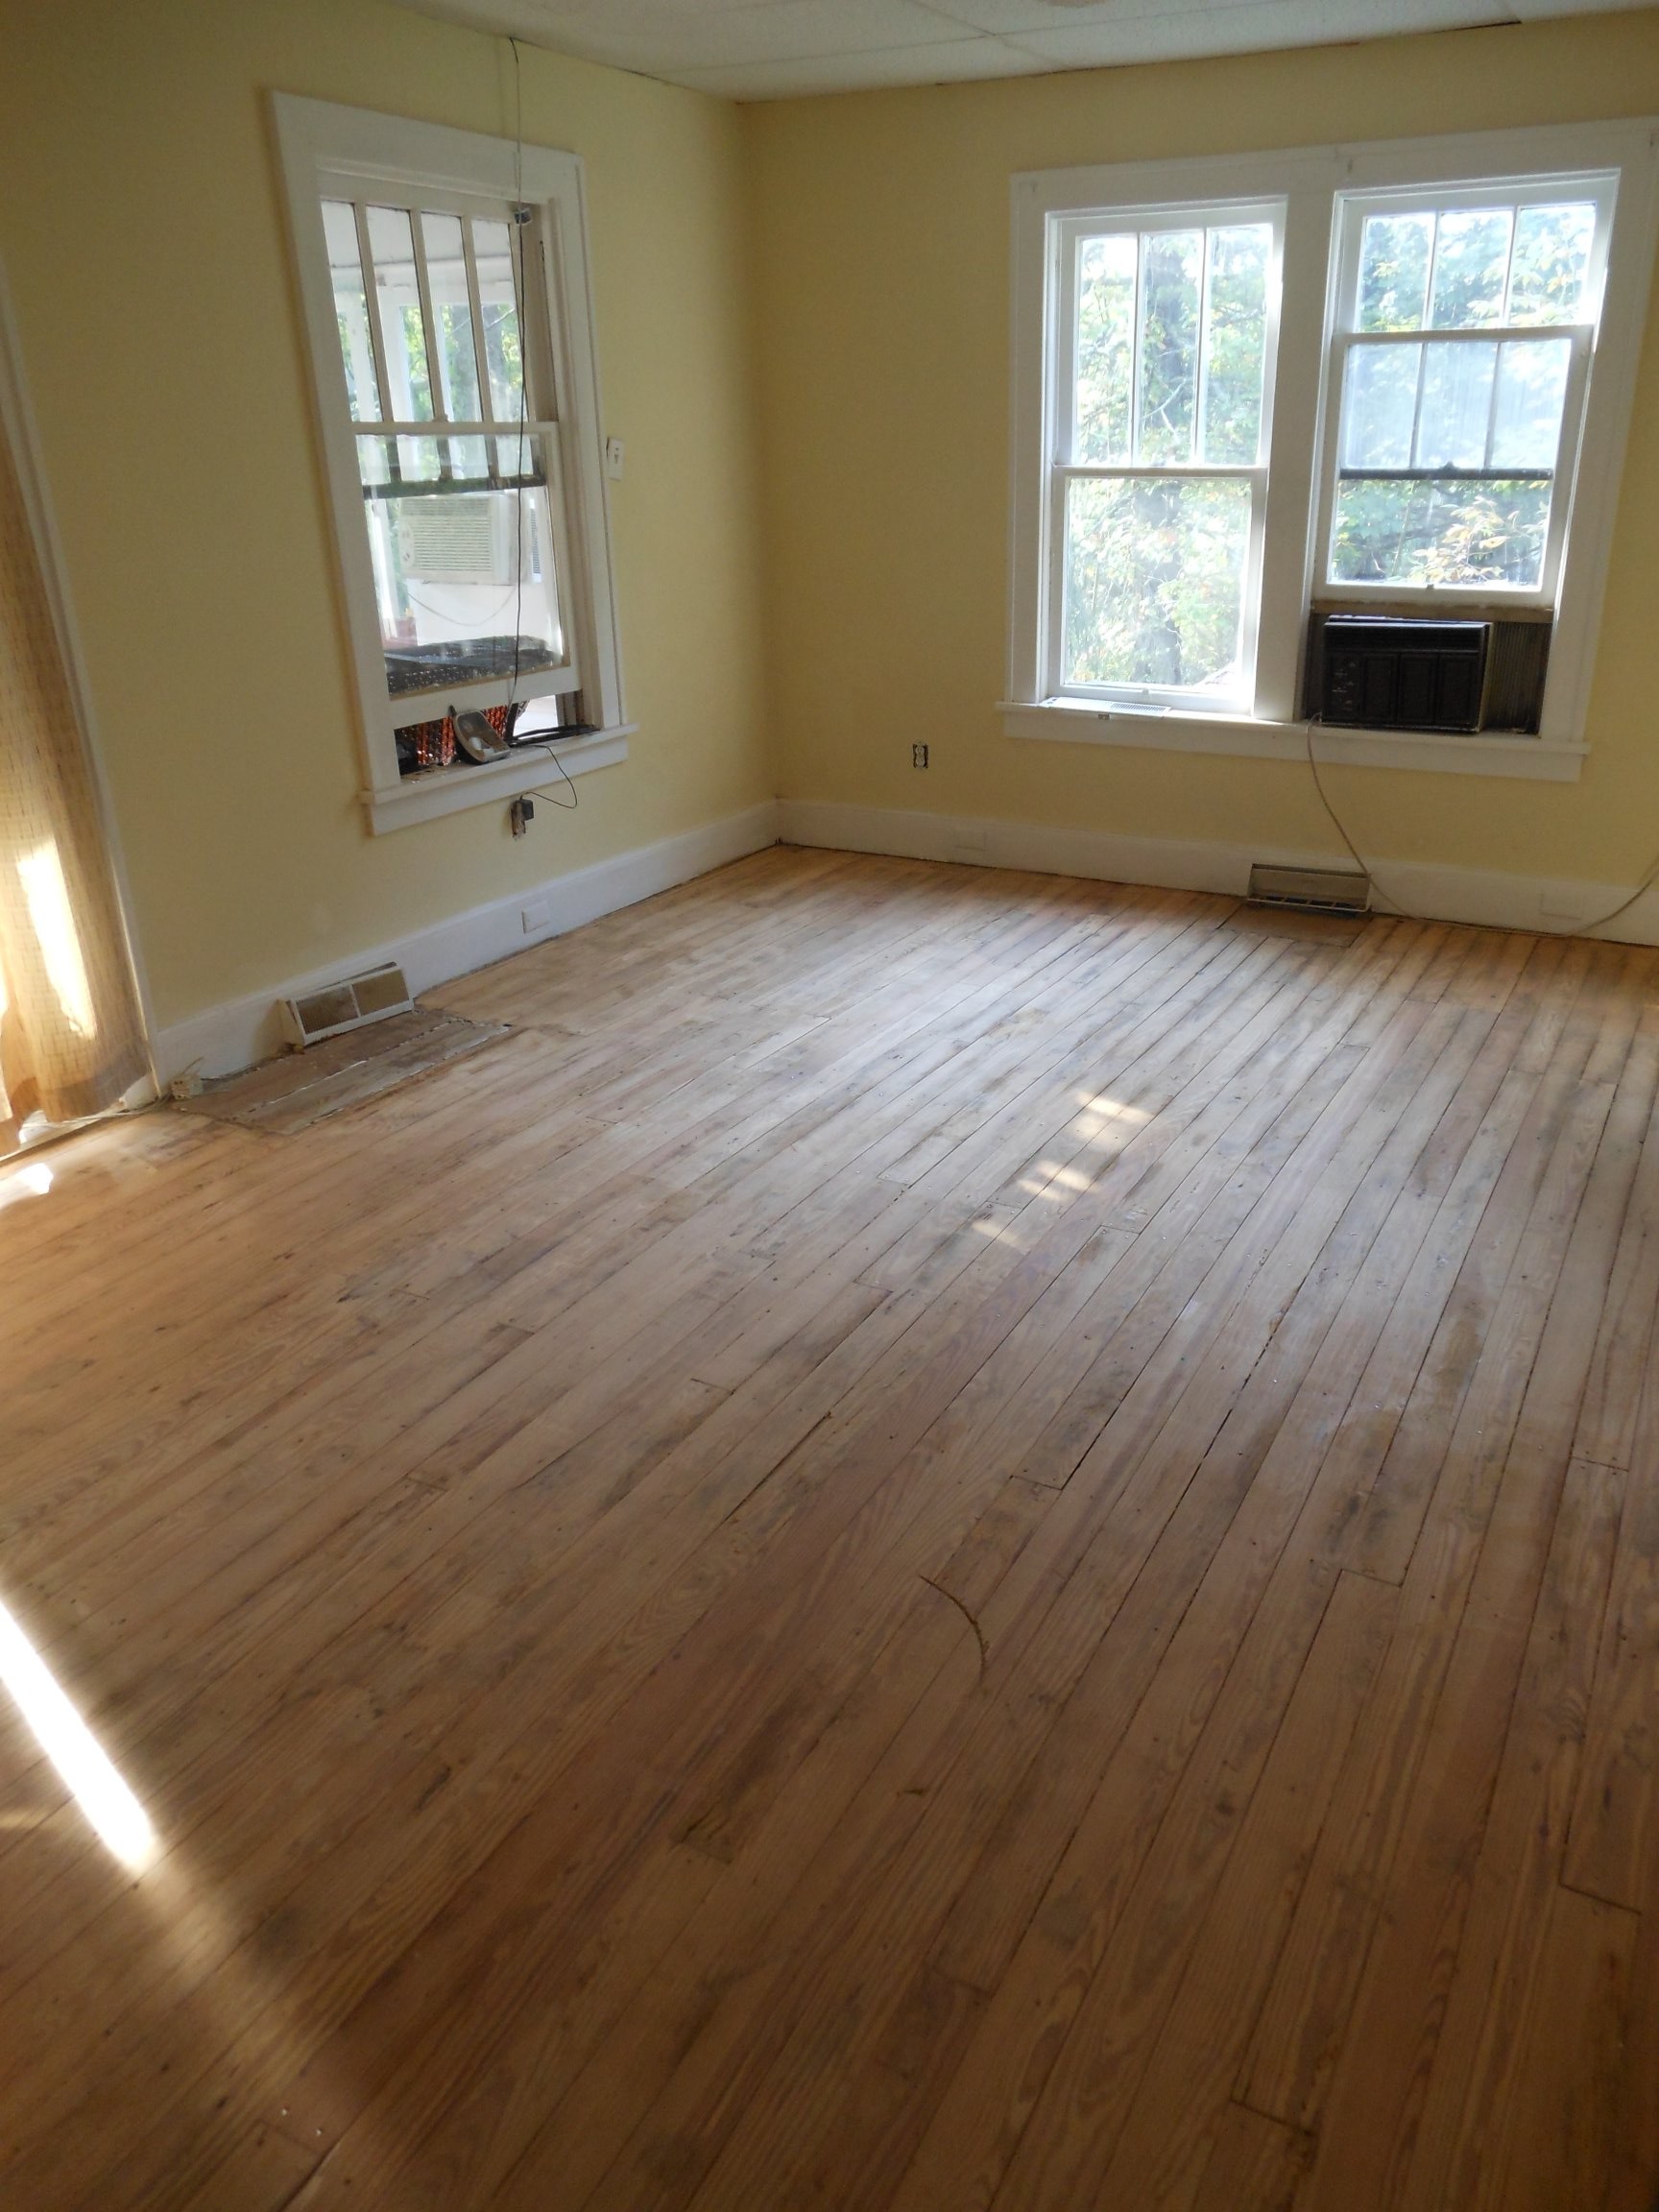
Project #2 – The Living Room aka “This Is The Floor That Has Been Under Here?”
This project began when Linda was over here as the Sitting Porch was finally coming into its own.
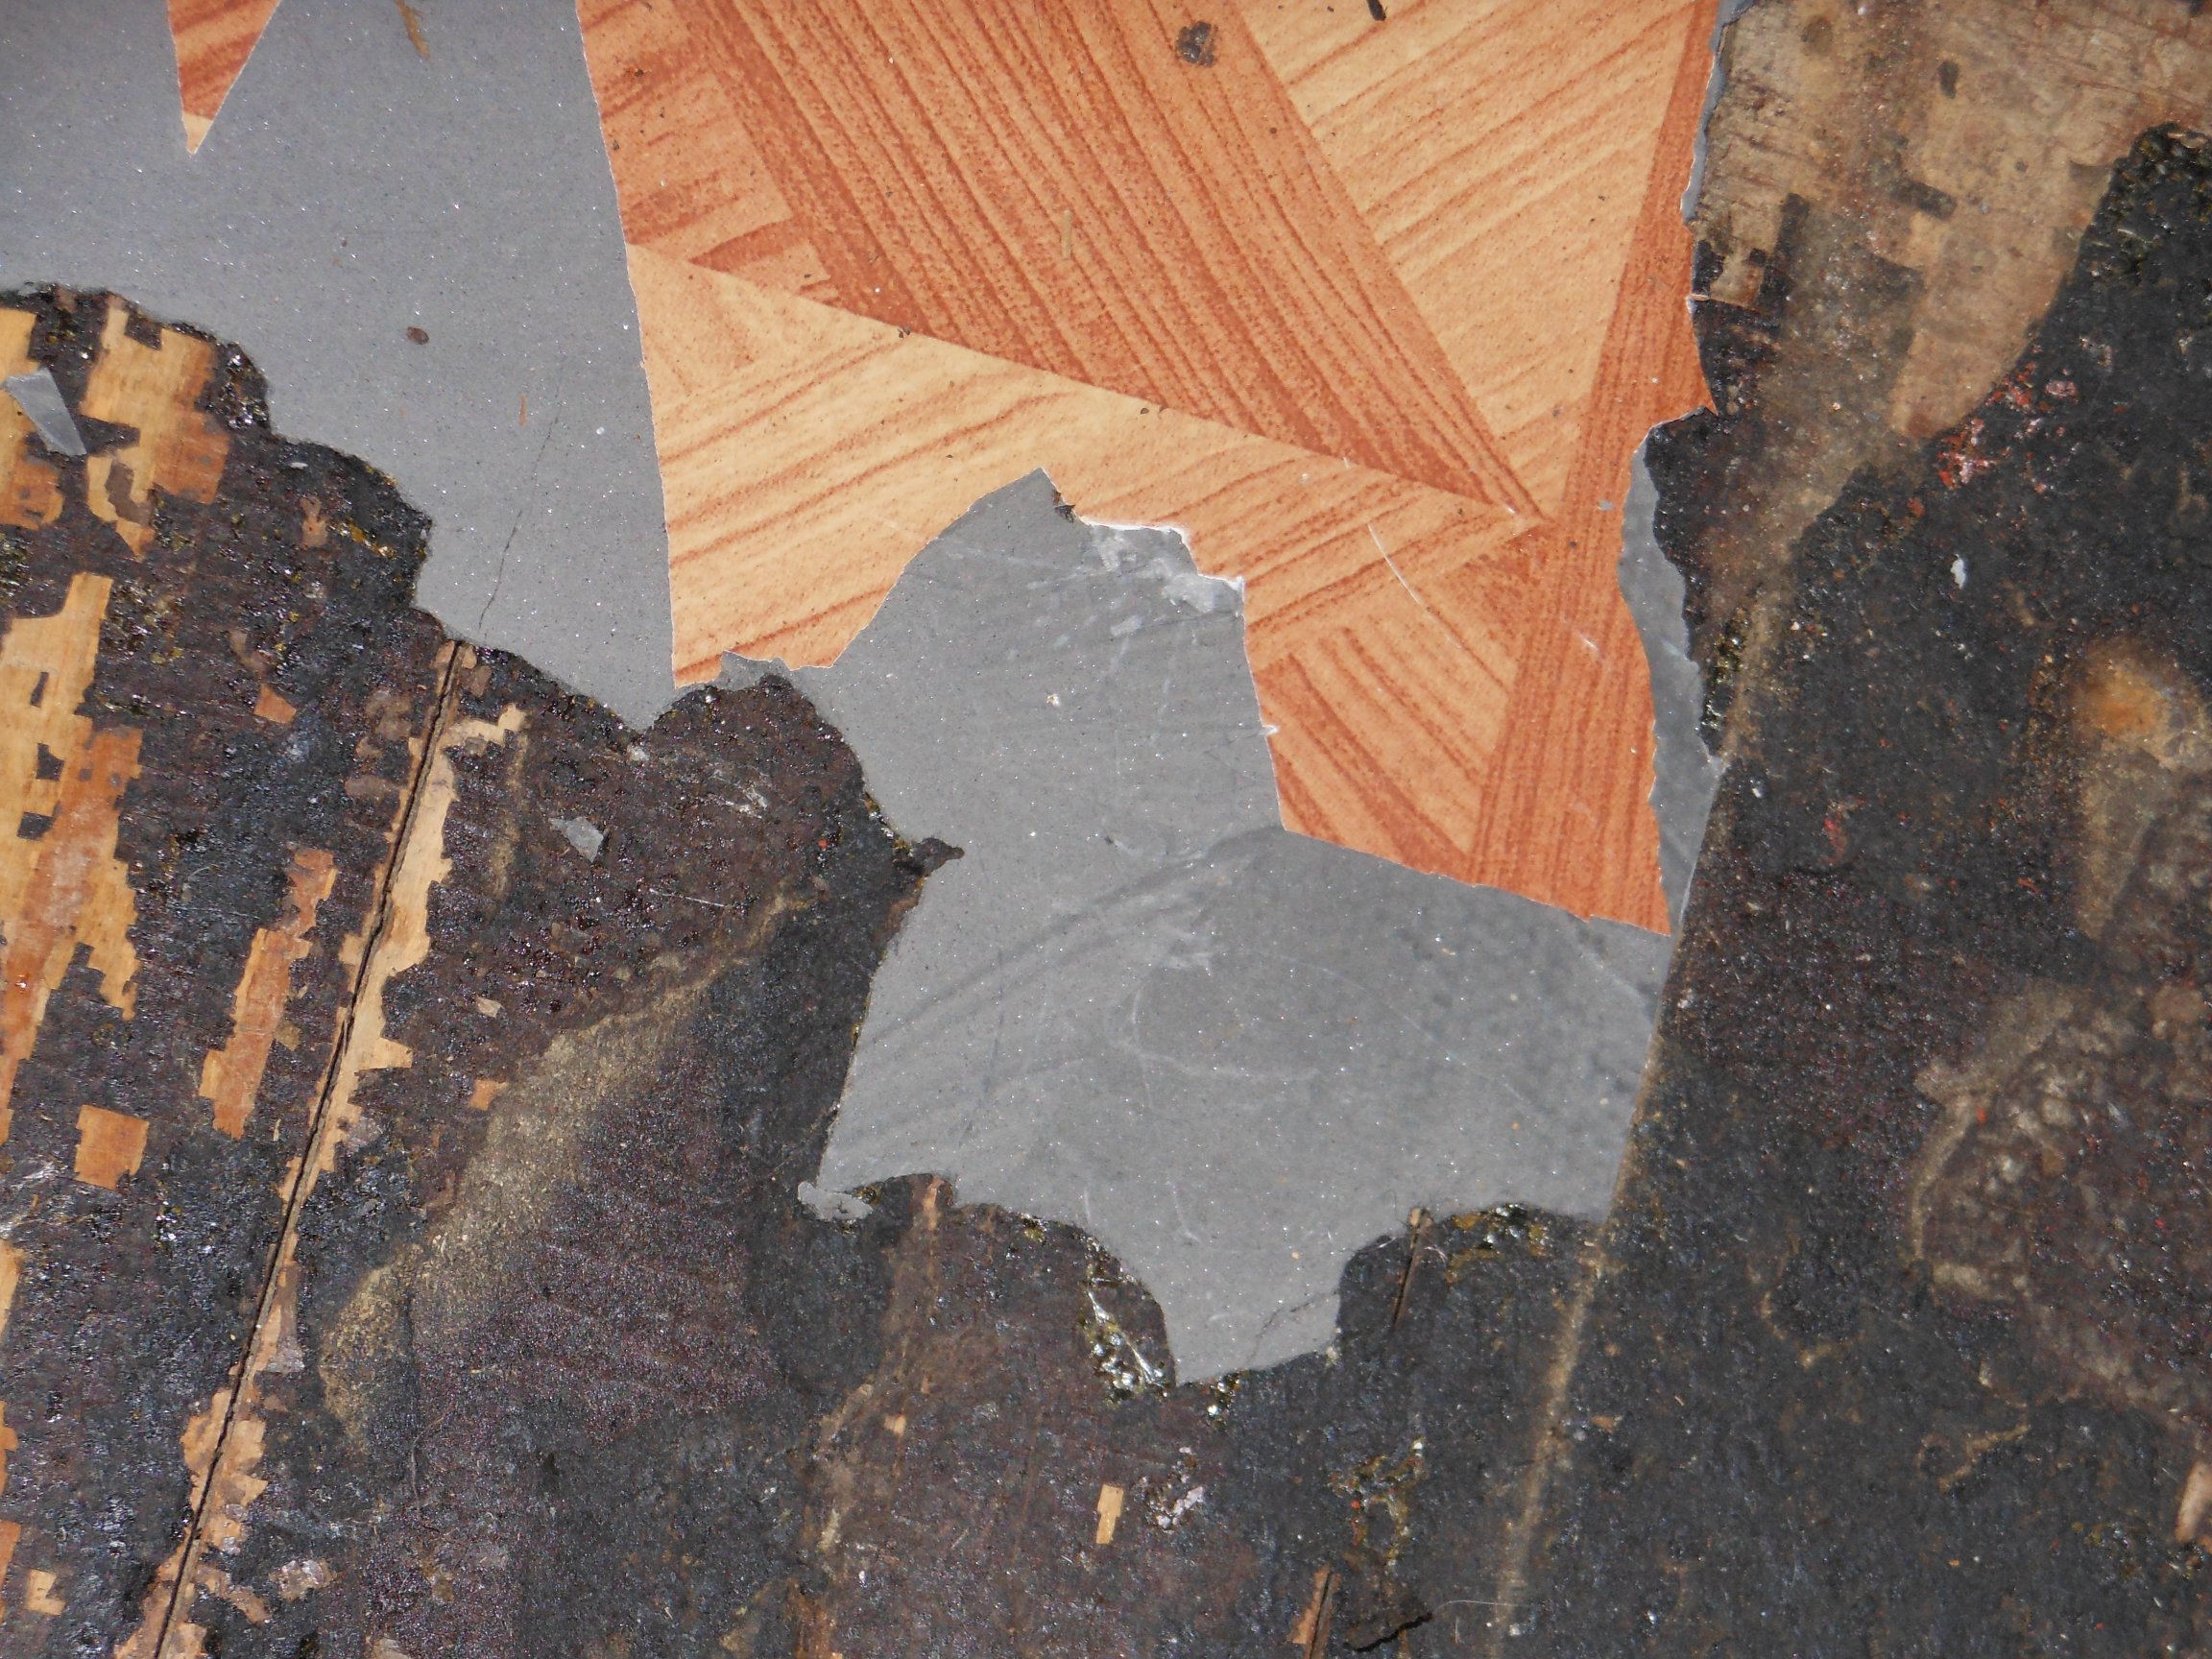
As her foot hit one of the tacky 12 X 12 floor tiles, she said “You know I think there is a good hardwood floor under all this. You should think about doing the floor.”
And of course, the if I was doing the floor I may as well paint the walls and … well, the rest is history.
So once again the Girl Power trio sprang into action.
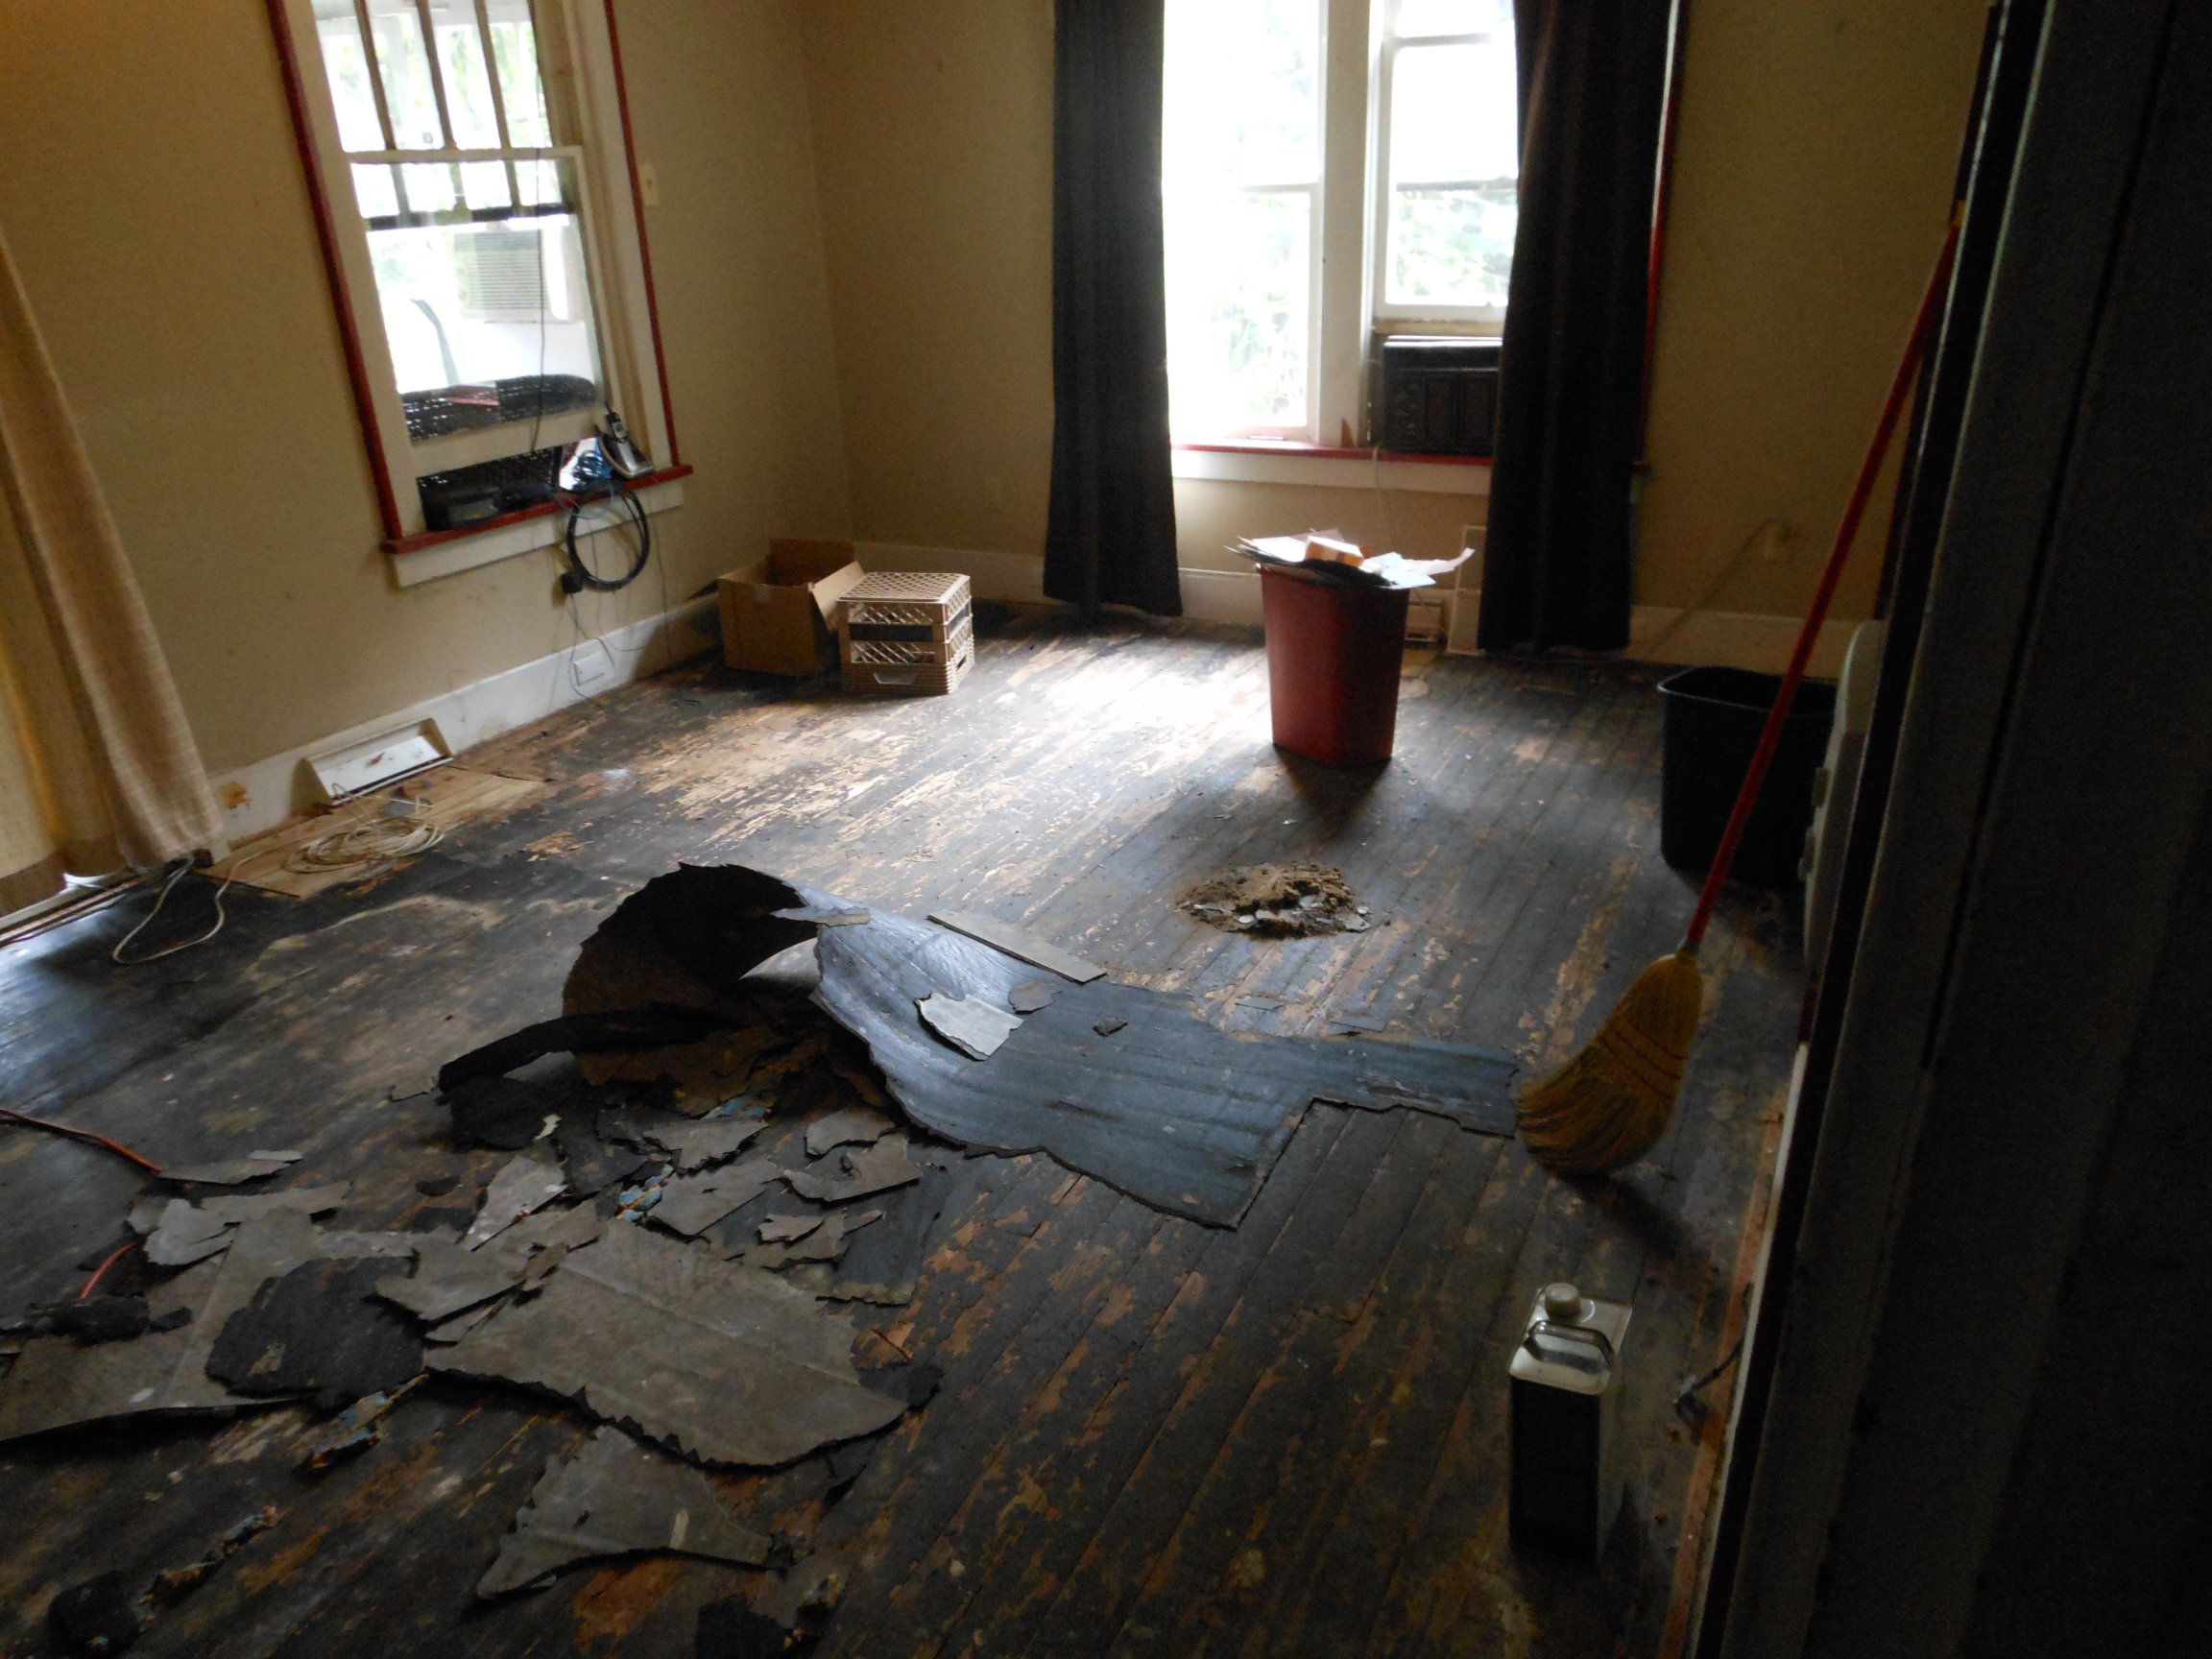
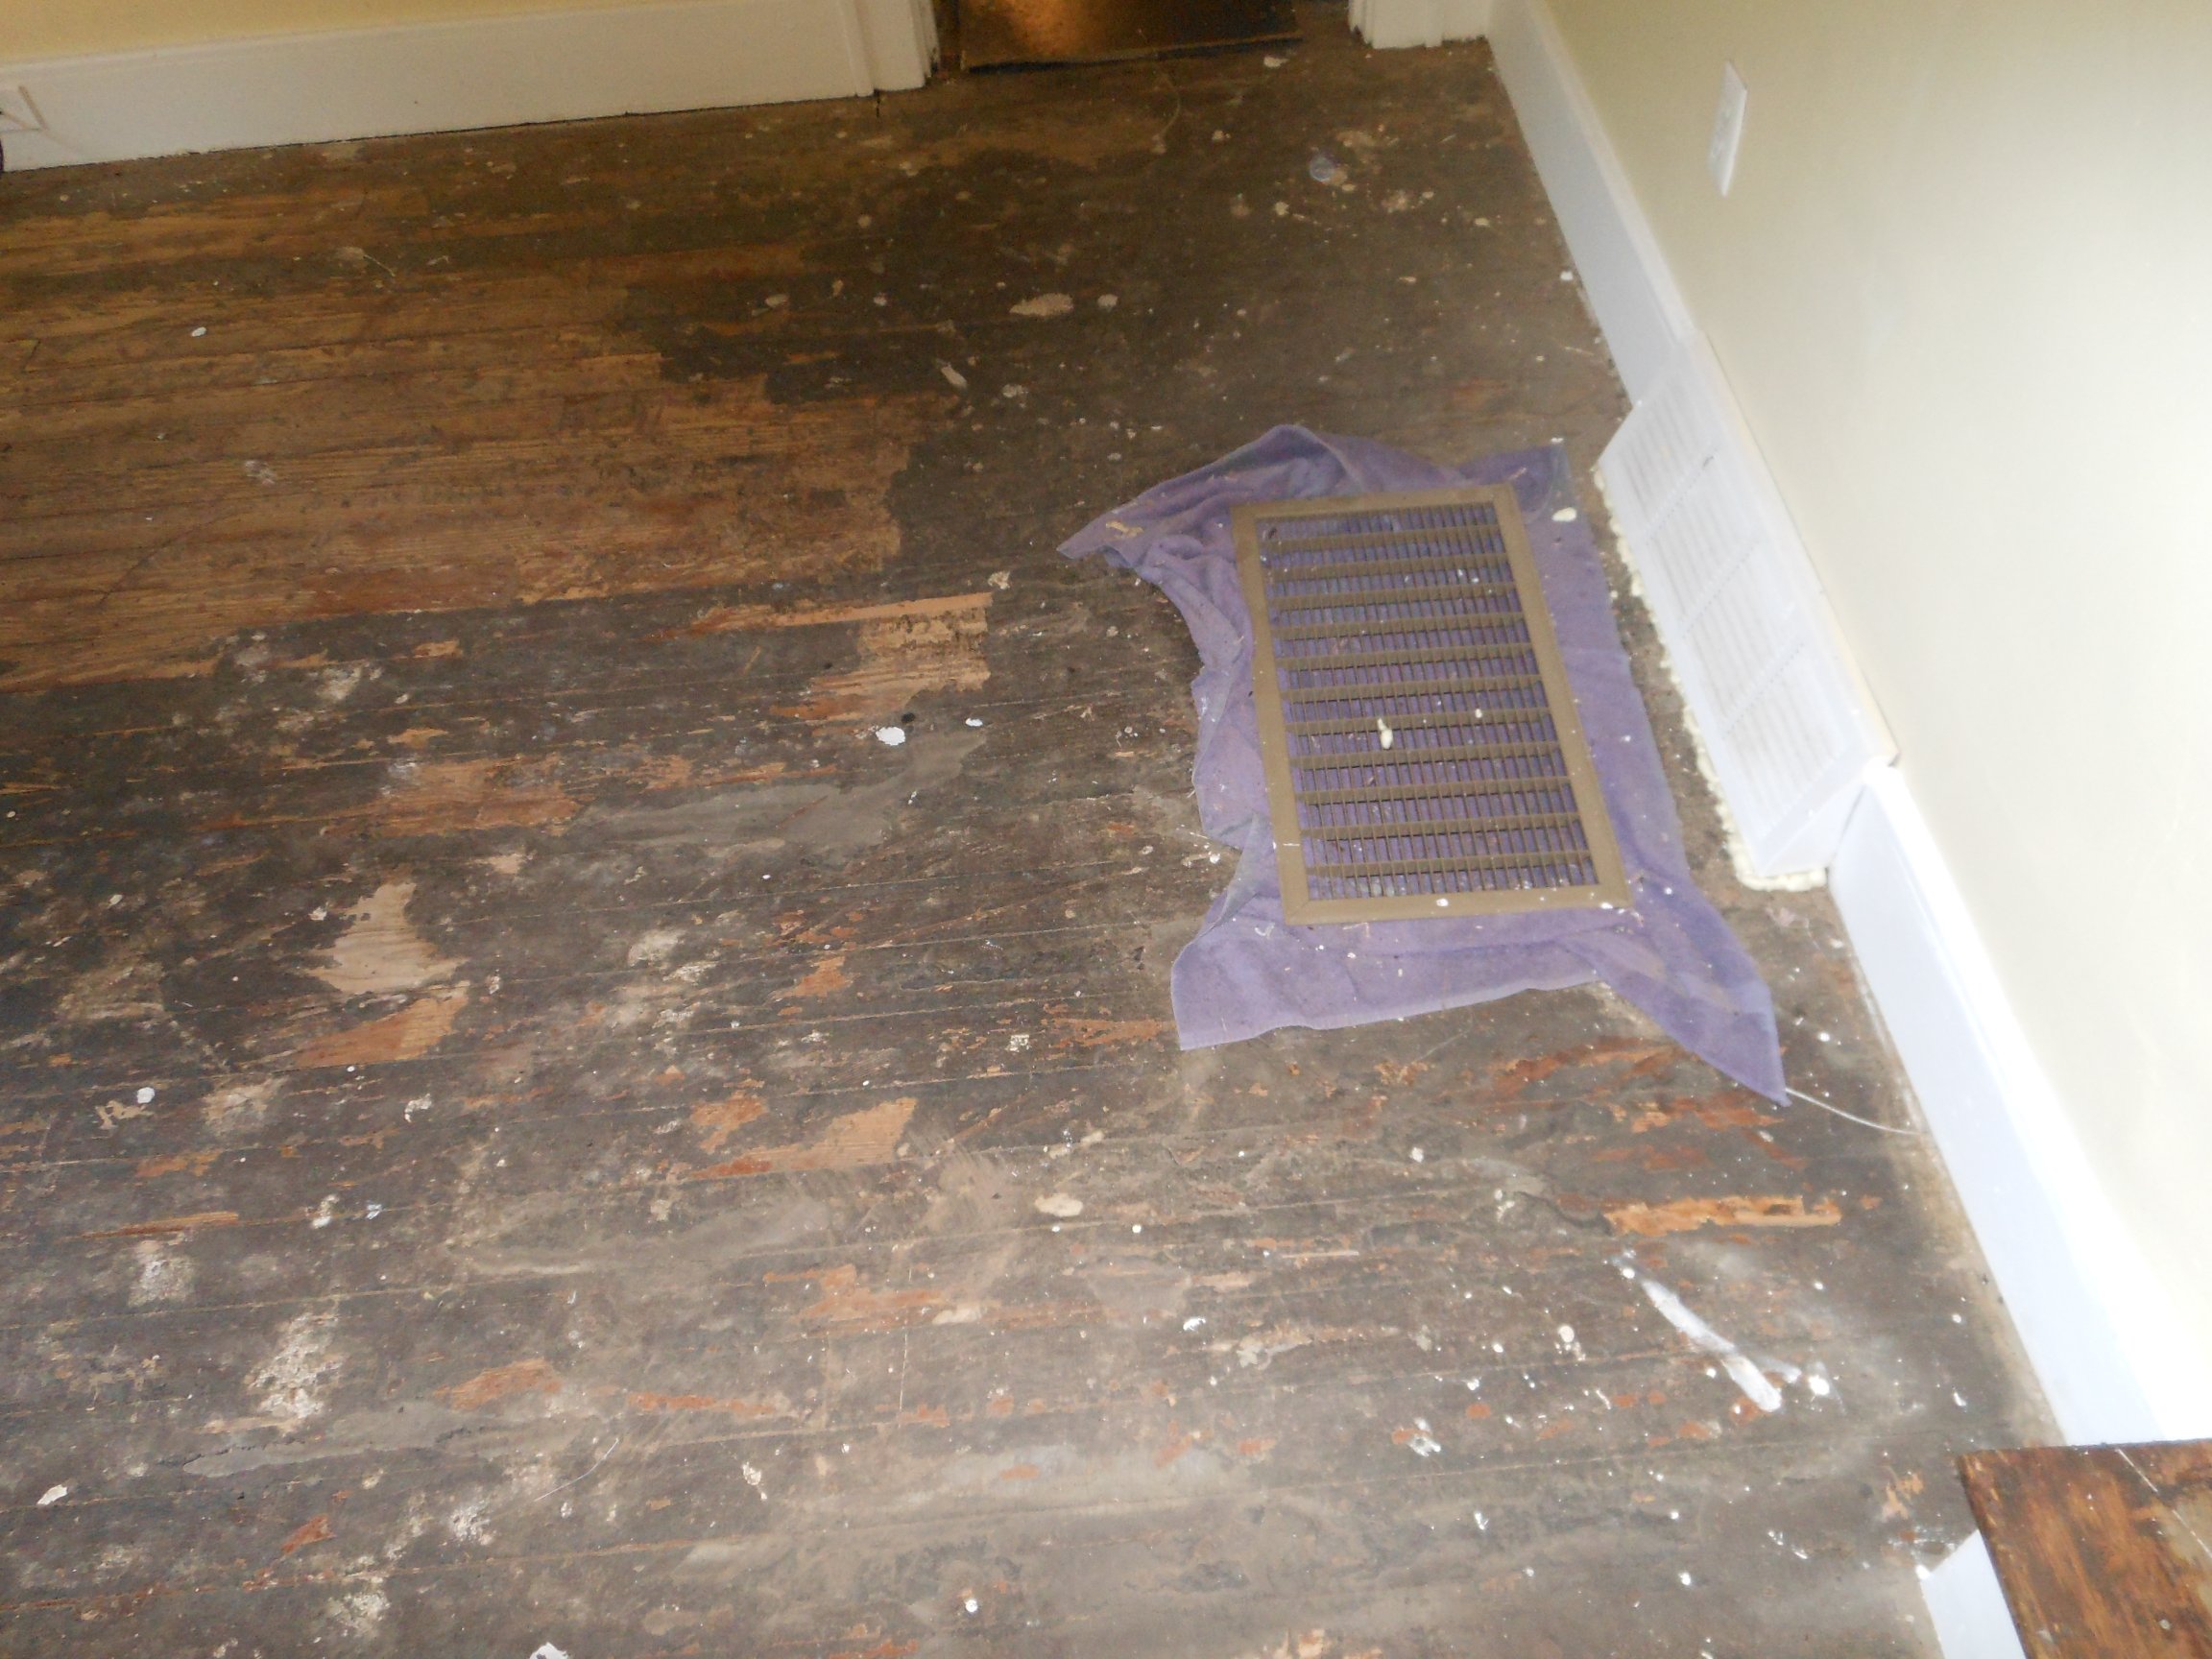
Words fail me as to the amount of work that went into this project as well. In this case there was the removal of half a rooms worth of 12 by 12 peel and stick tiles, half a rooms worth of carpeting and padding underneath, left over linoleum under the carpet and the scraping of all the gunk, glue and whatever else that was under it all.
The scraping was done with an amazing eight dollar tool meant for glazing windows, and a hand sander. And lots of hard scraping.
This was followed by painting of the walls, trim and switch plates.
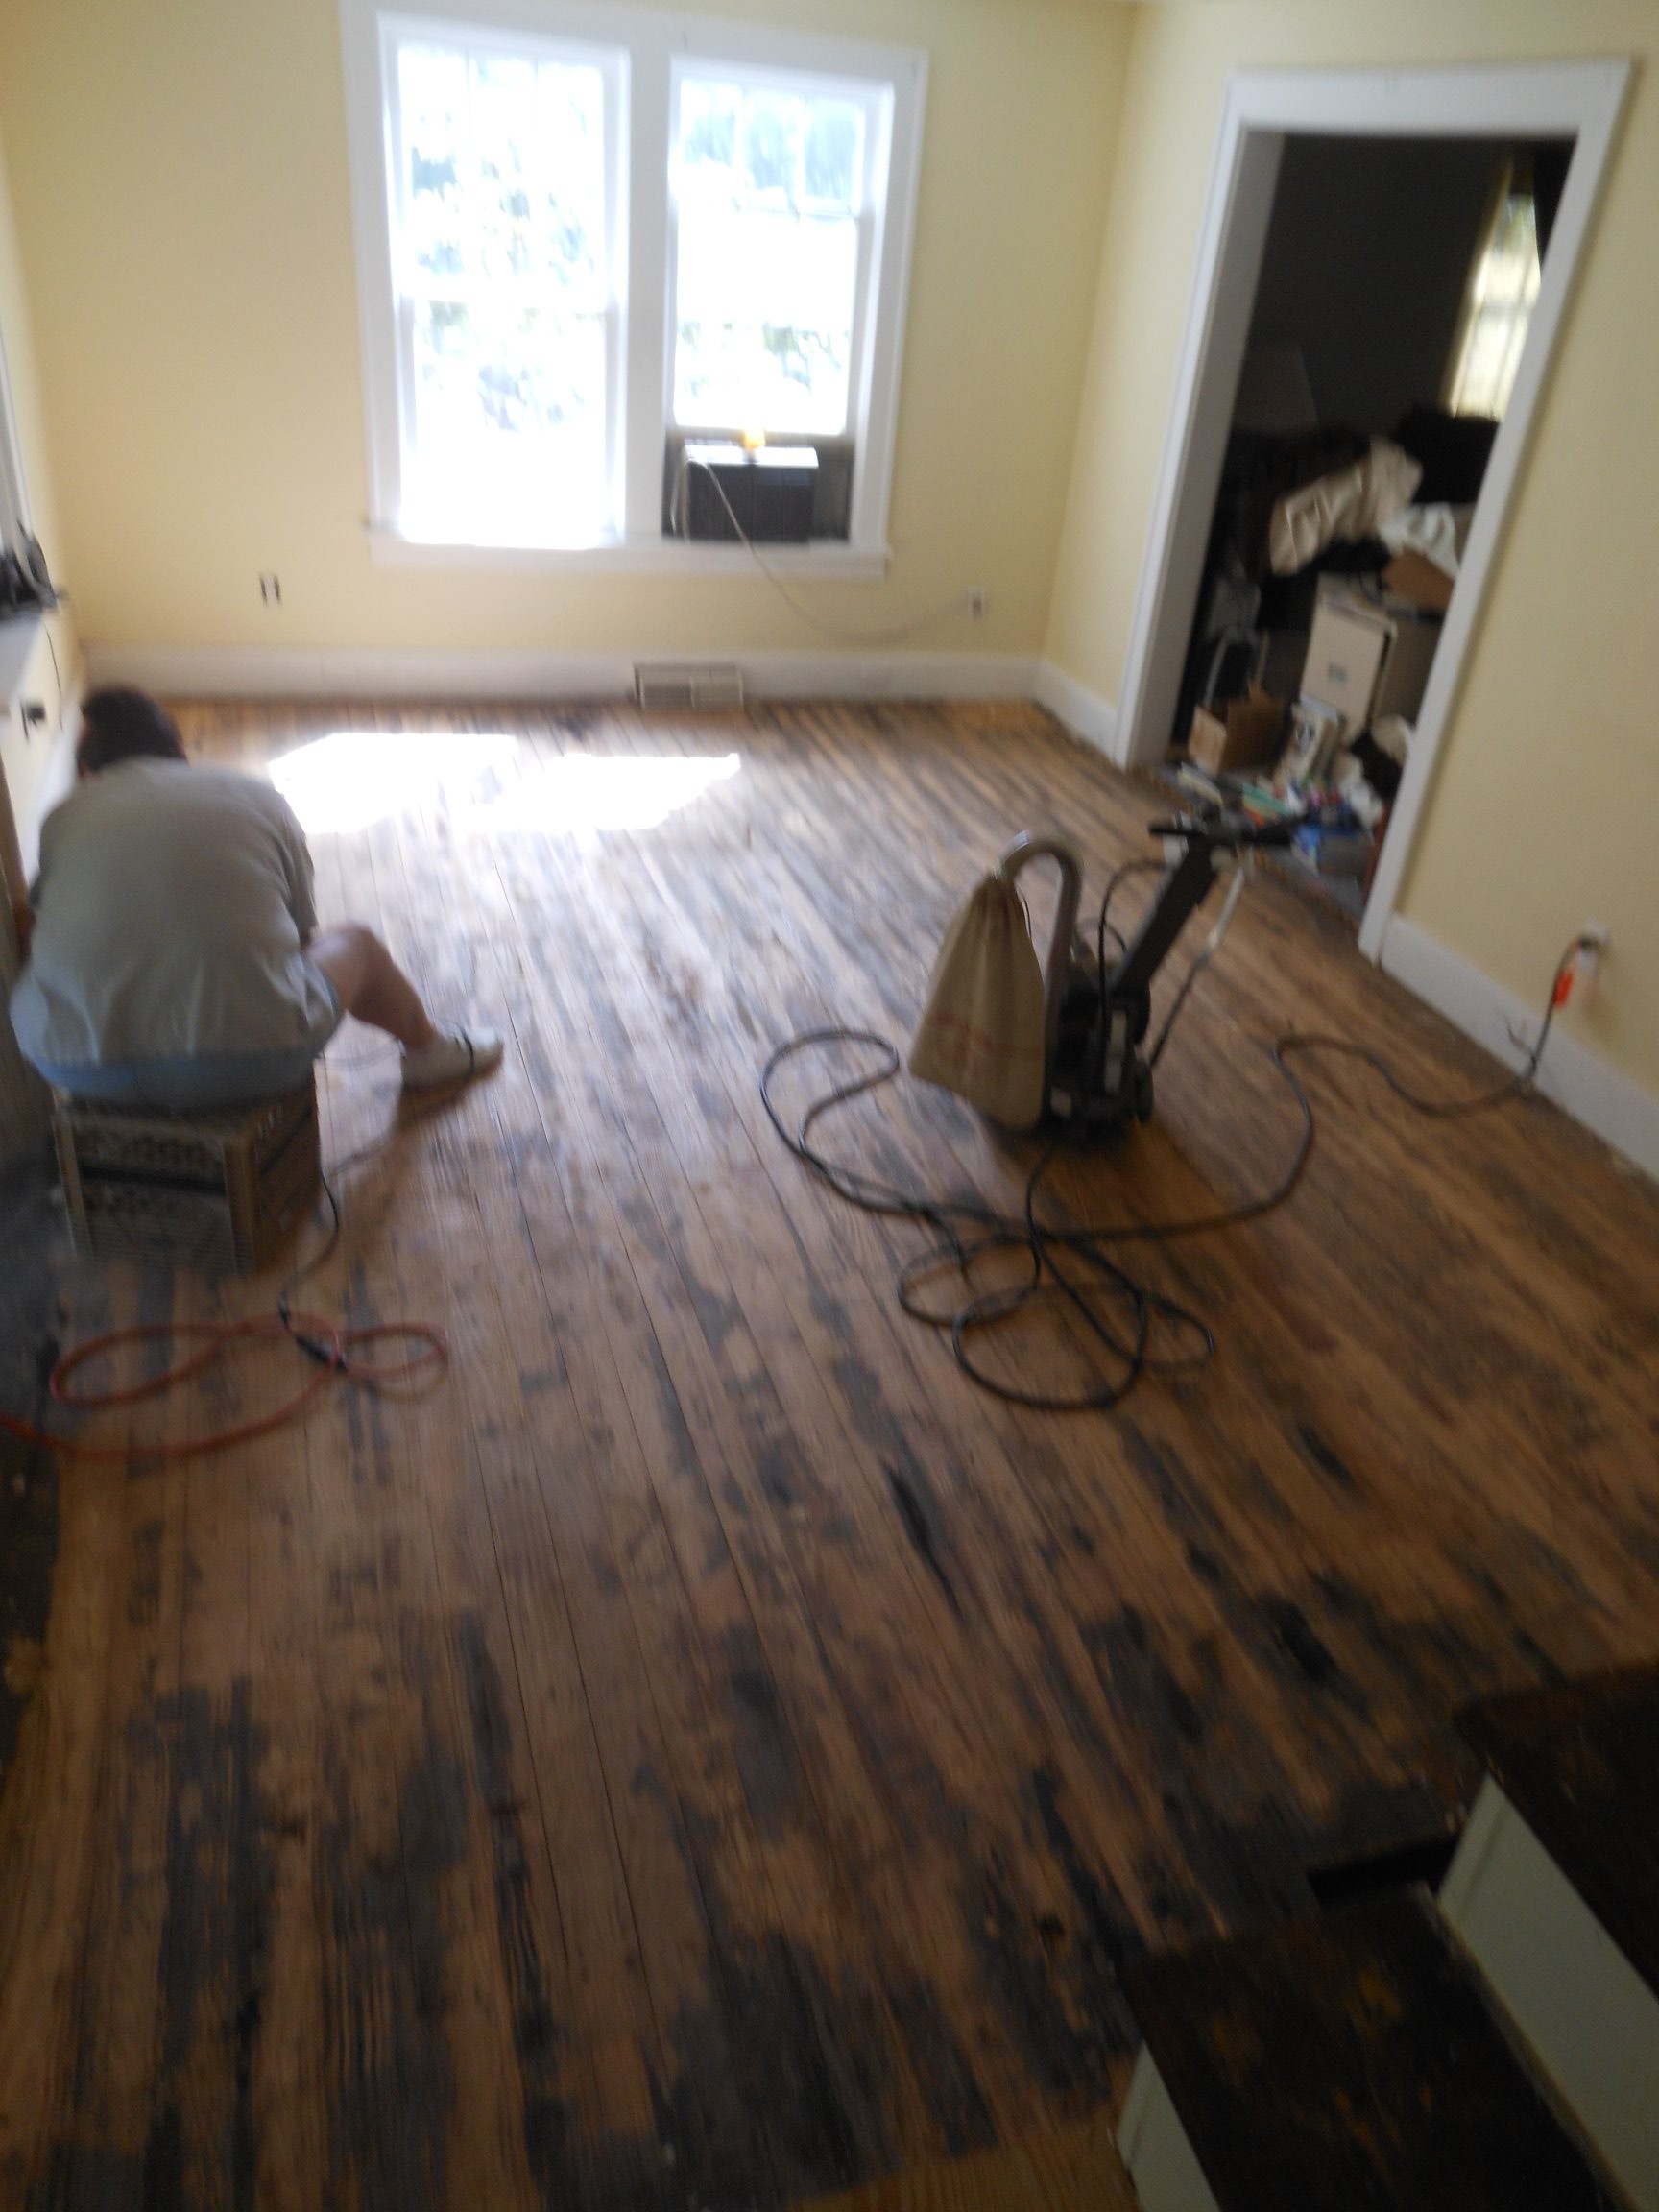
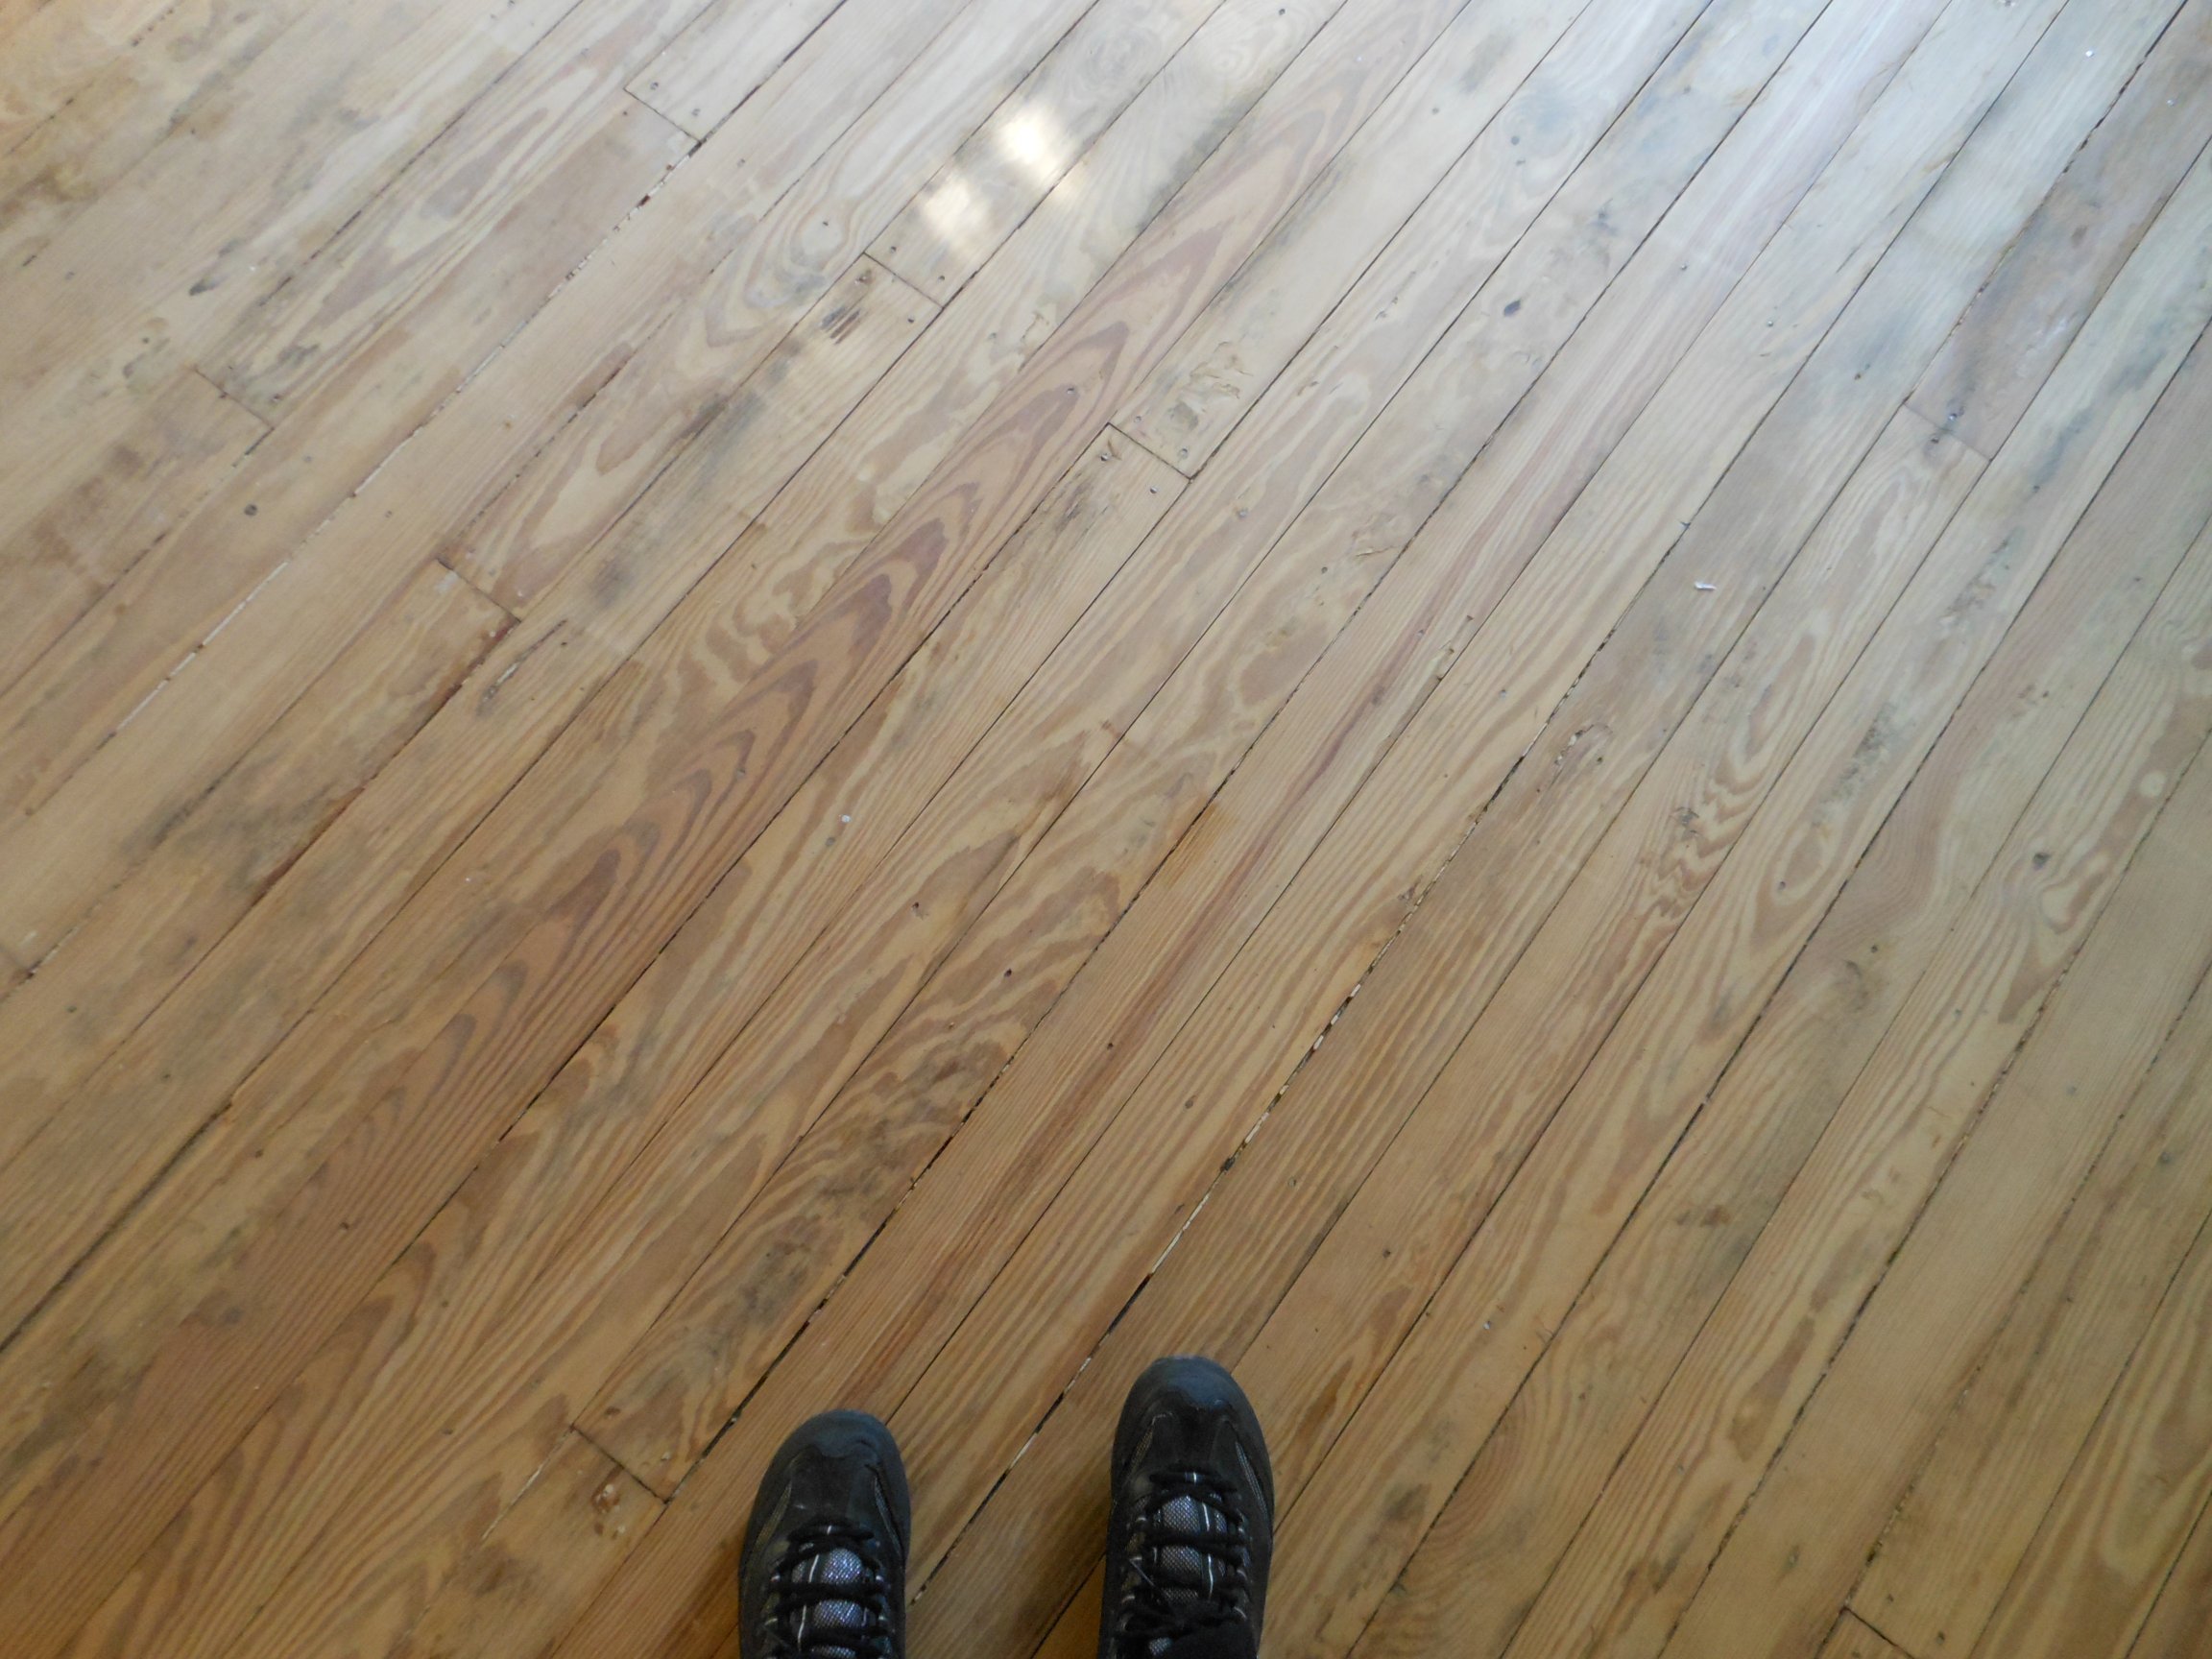
And the sanding.
With a Drum Sander.
You have no idea how heavy a Drum Sander is when you do much of the room with the sander lifted and tipped up on end a bit for maximum effect.
Then the Edging Sander. Which was cute but a pain to use. And finally the coats of Polyurethane. Without further ado, here are the Before and During pictures … in chronological order.


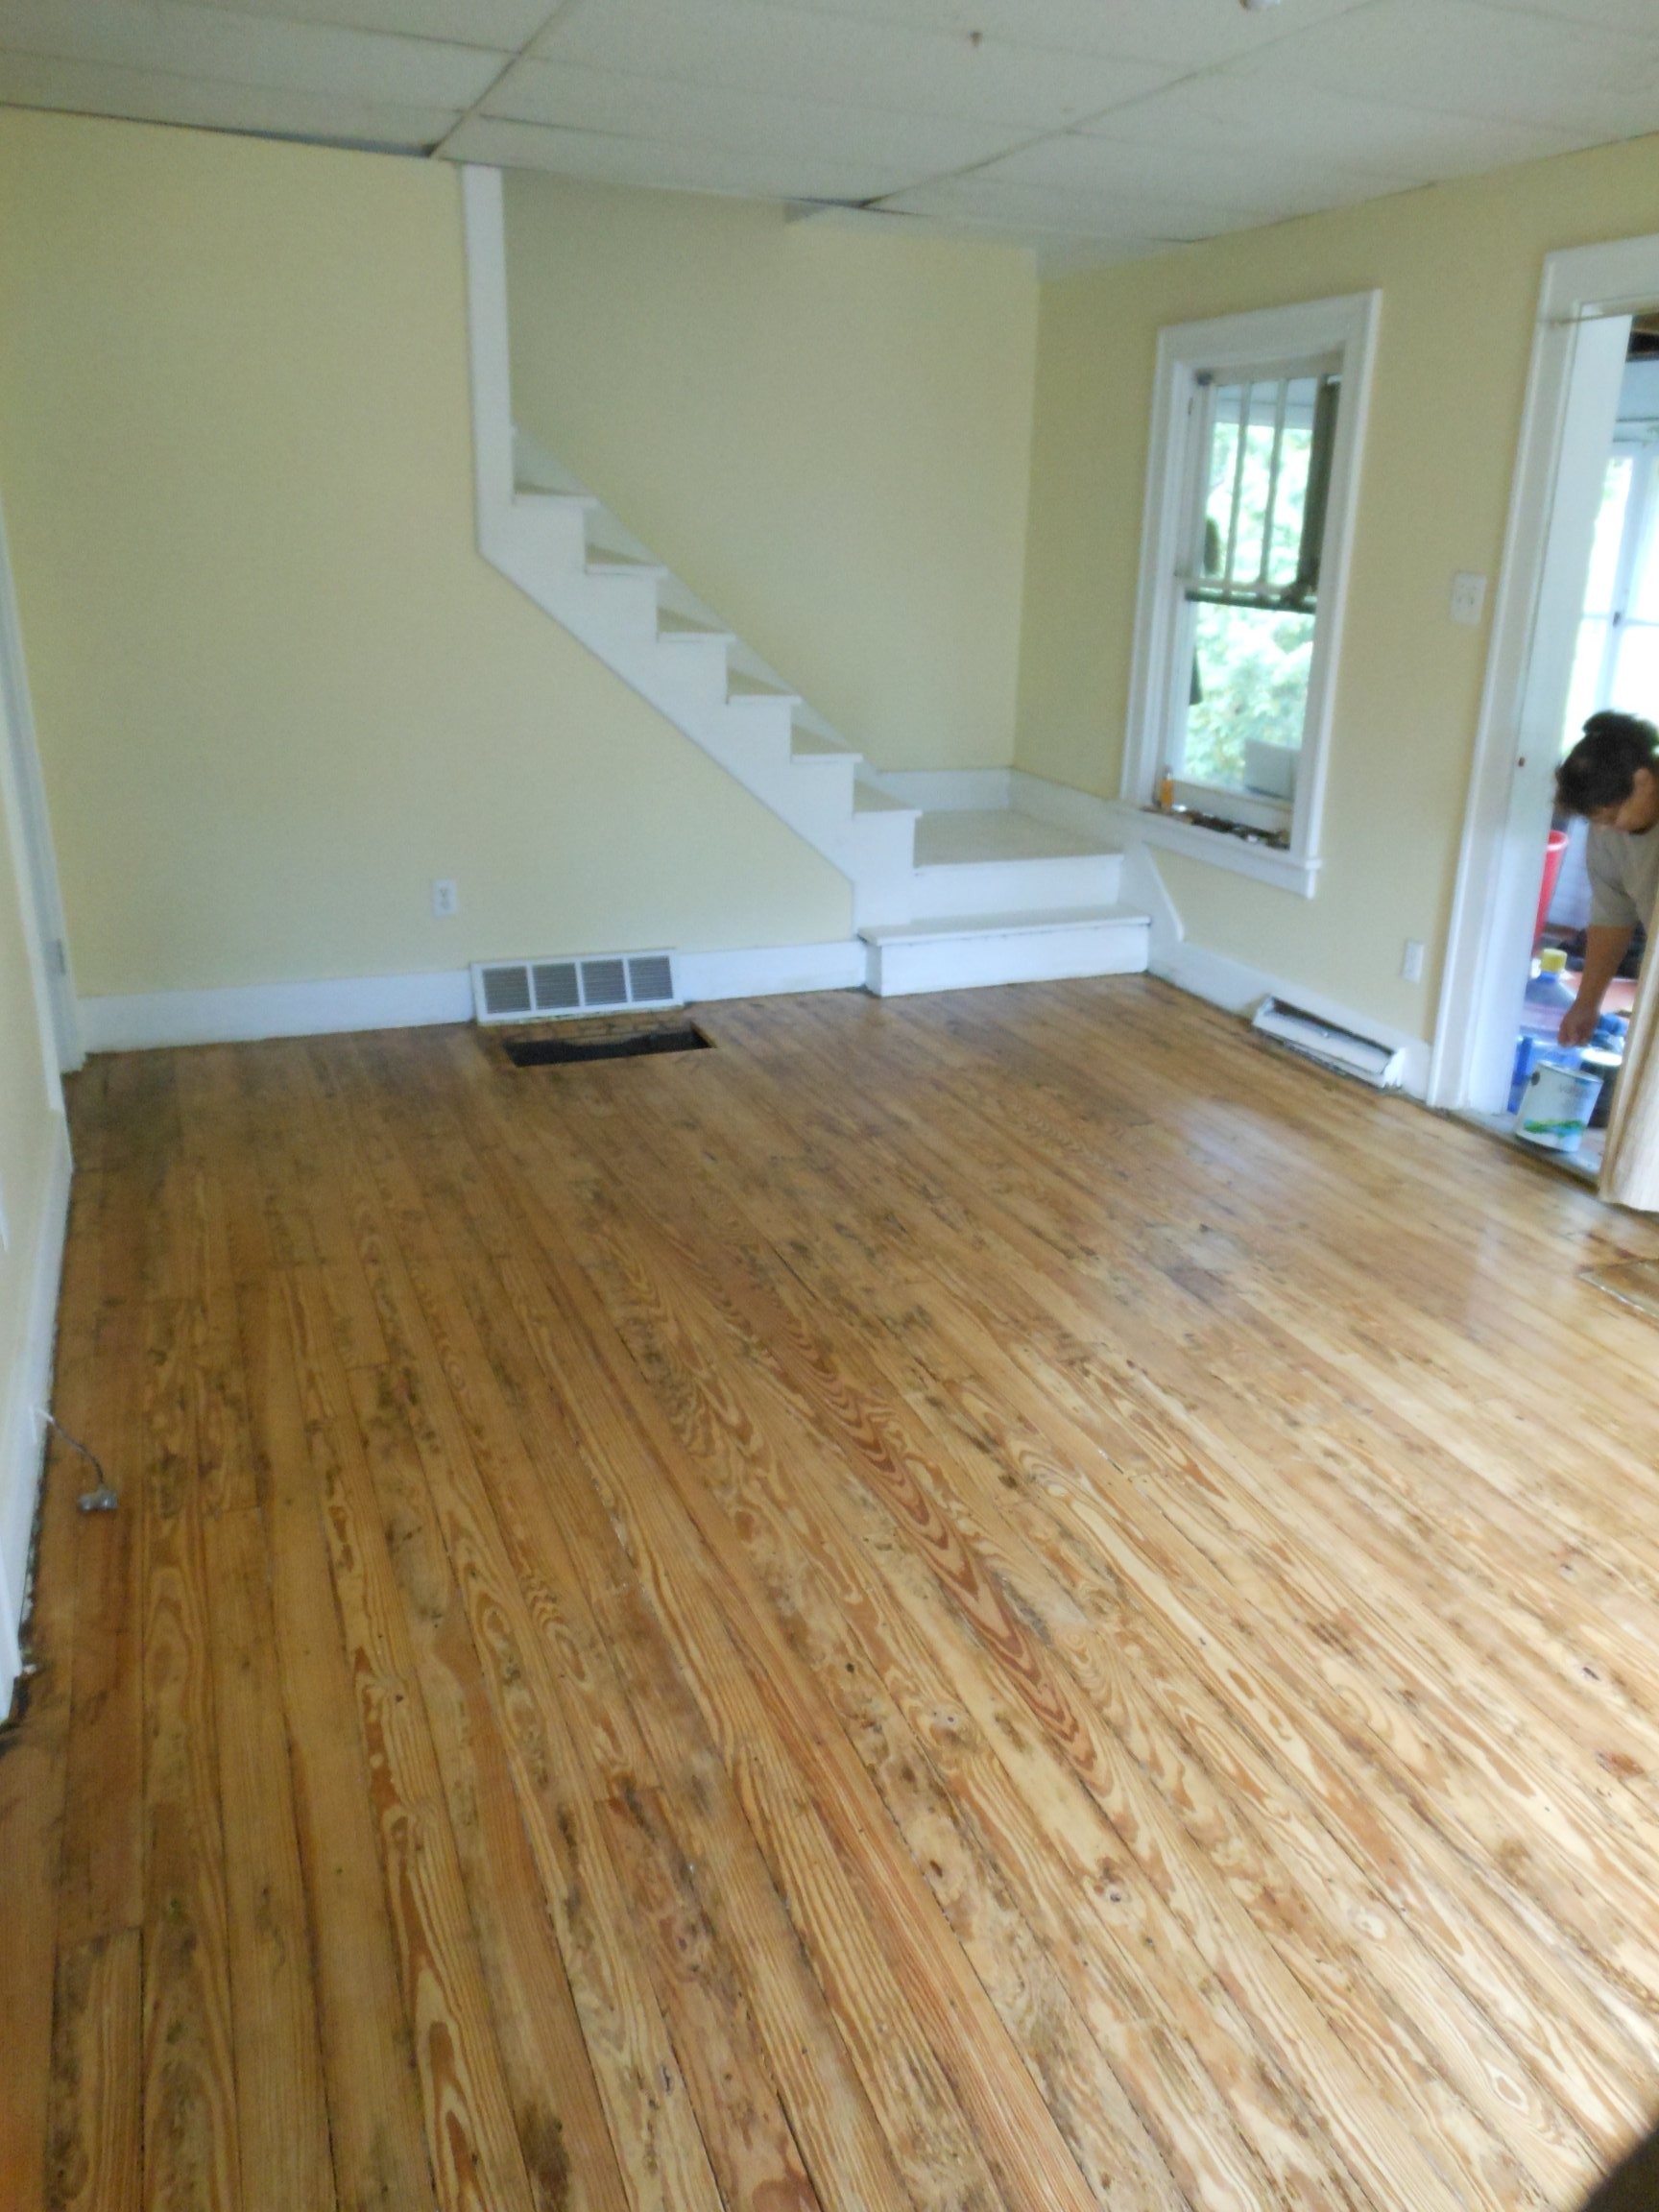
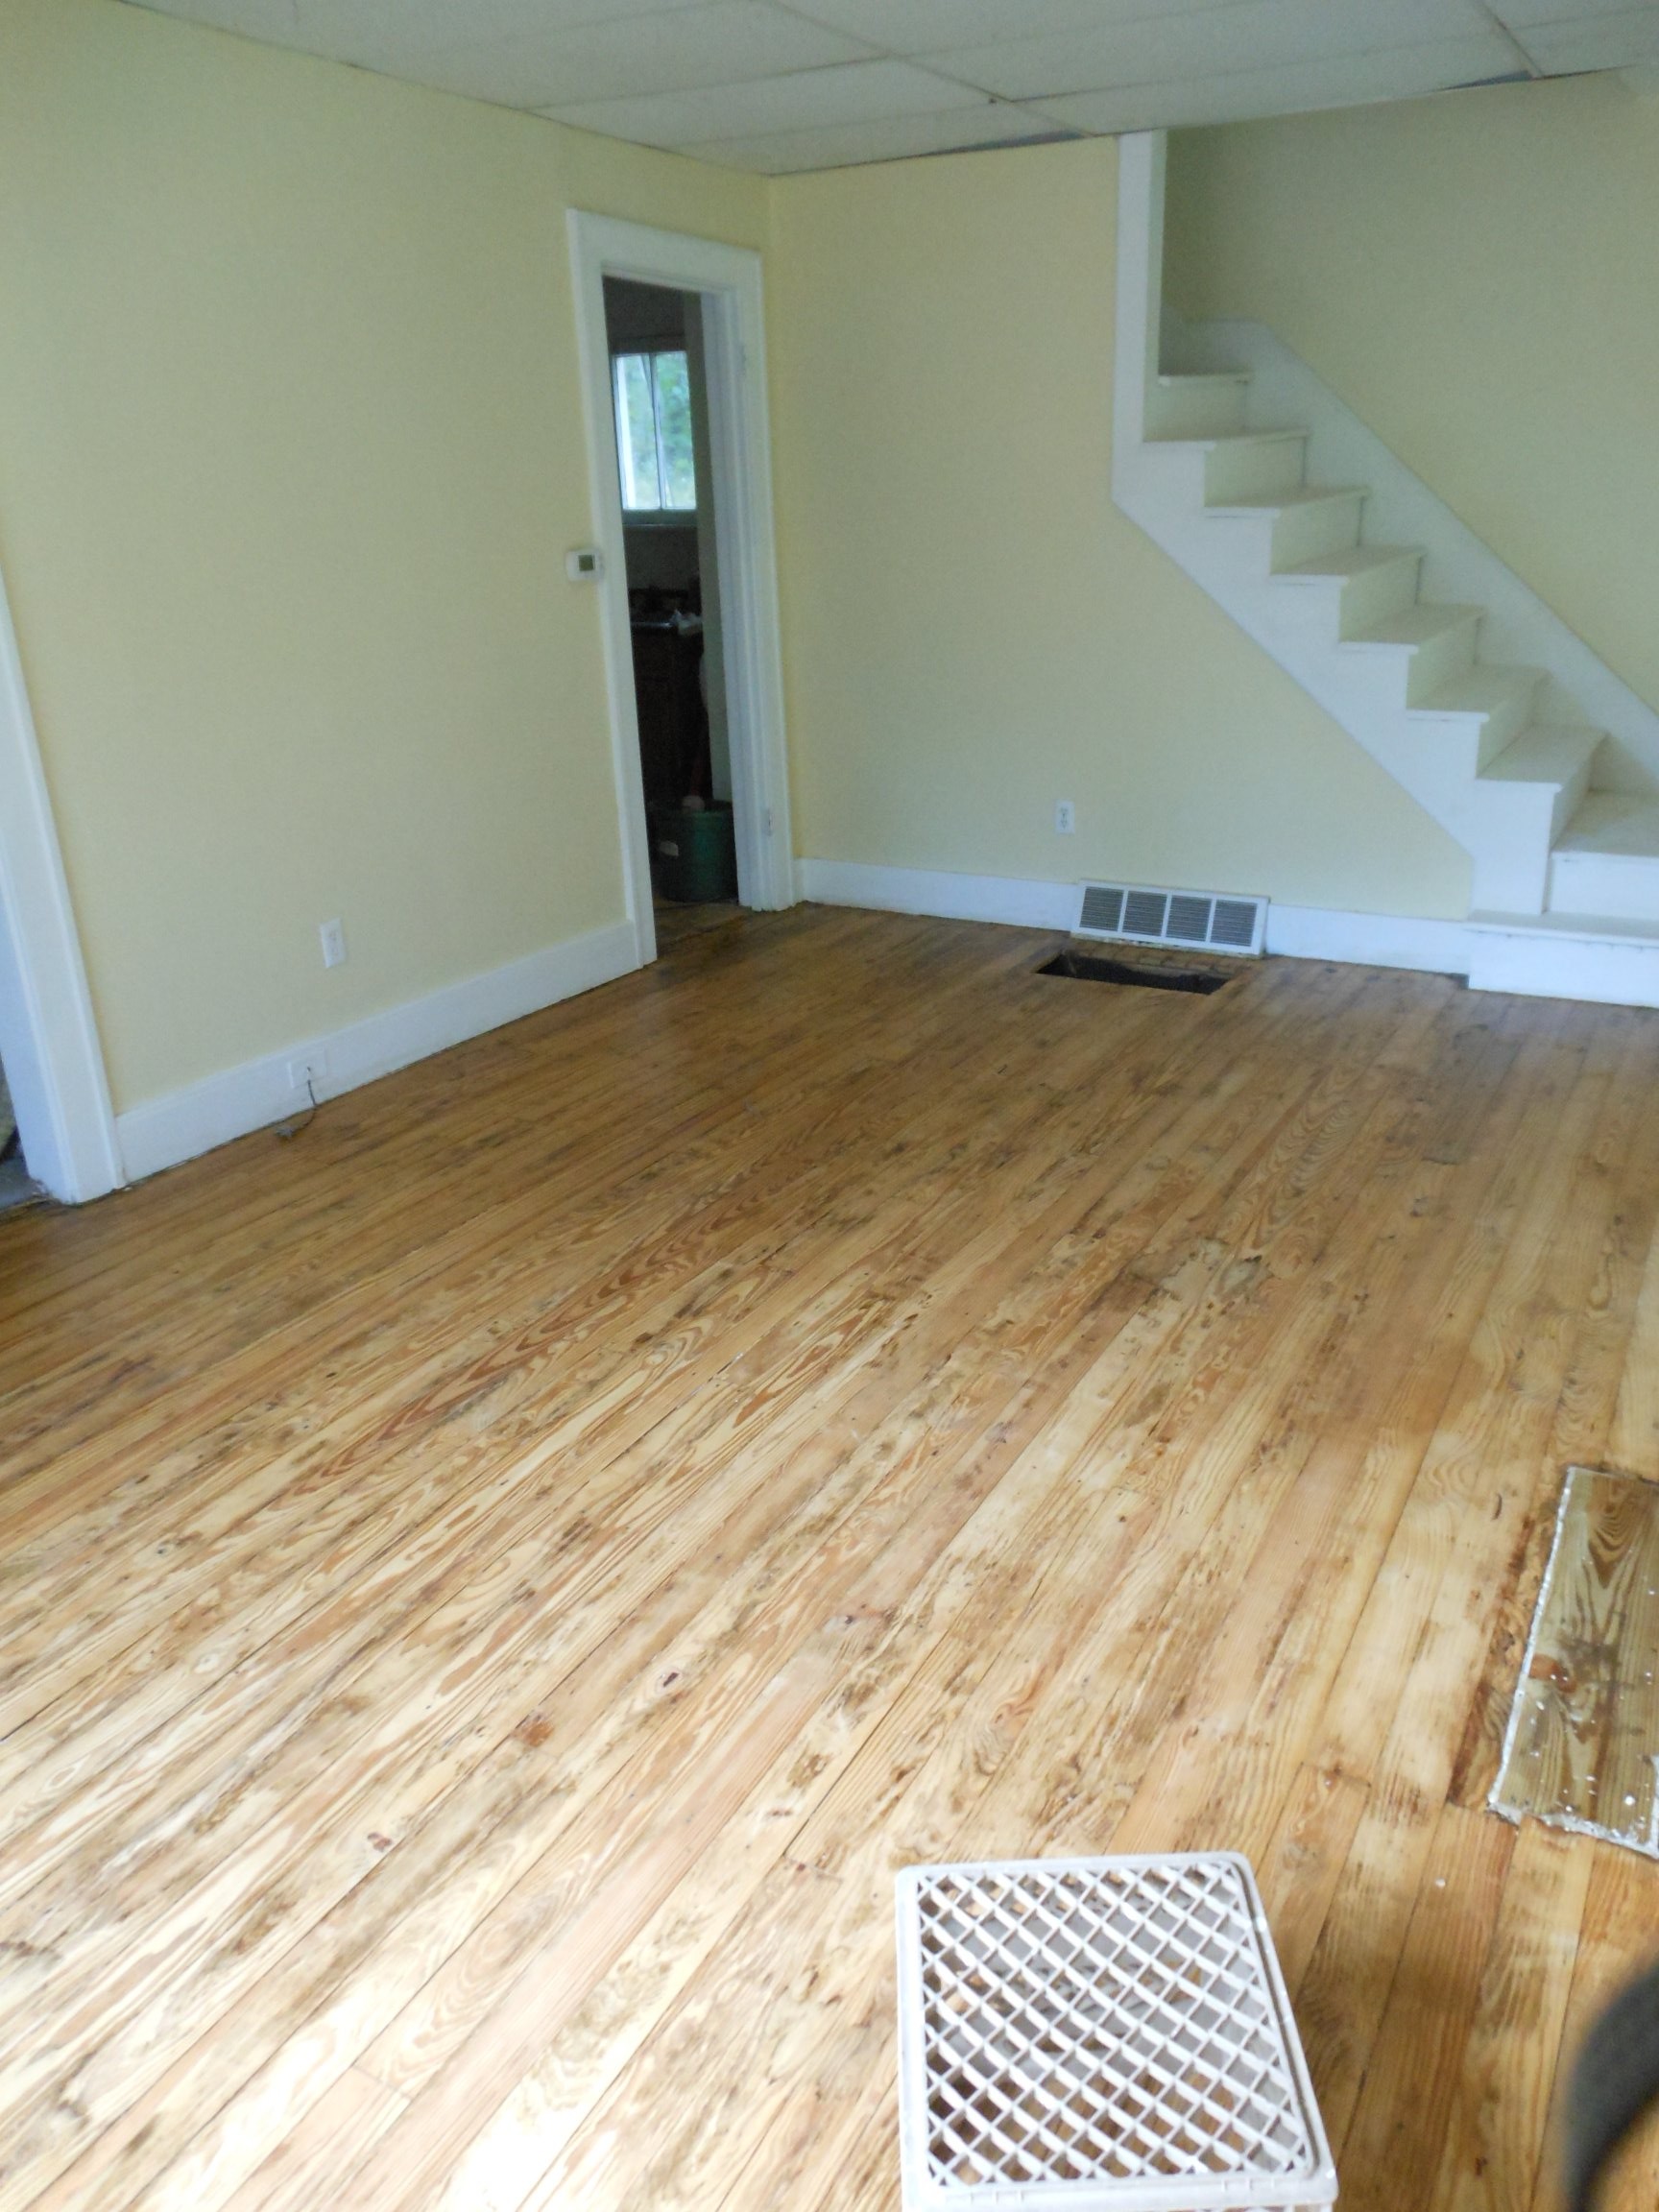
And here are the After pictures.


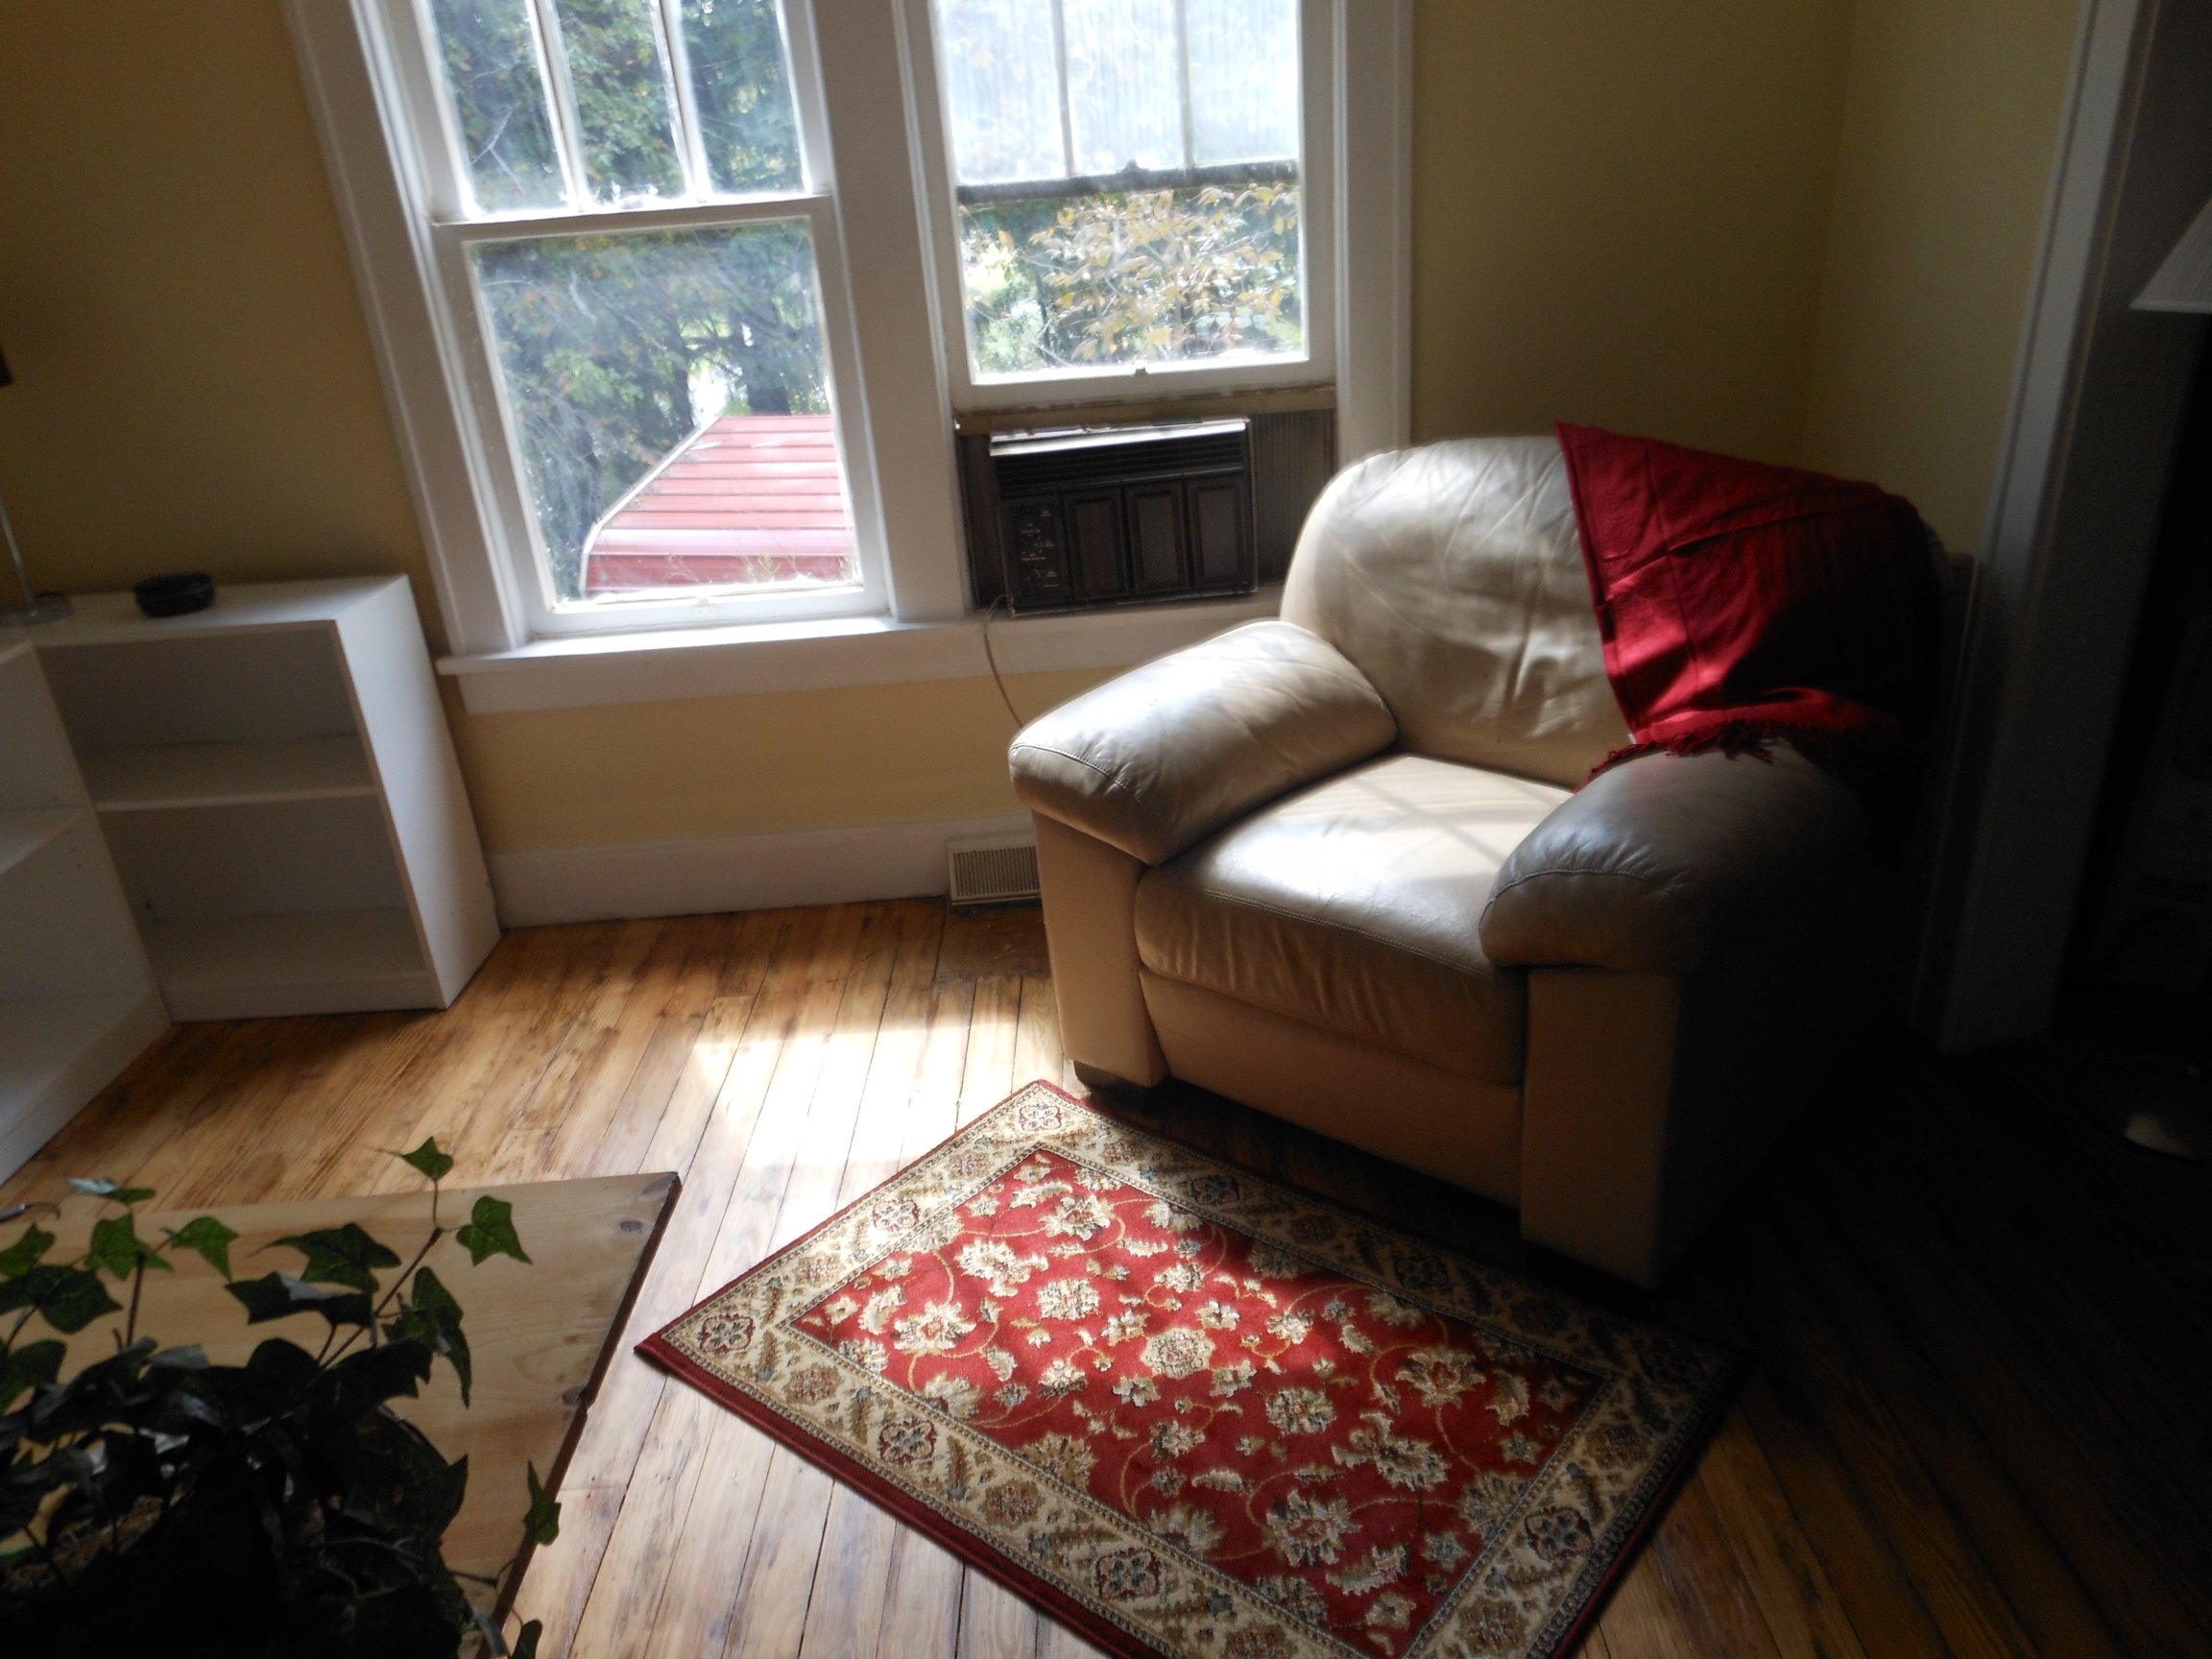
And now that you have seen the Creative Studio (formerly my Living Room) where this blog is written, we move to the next project.
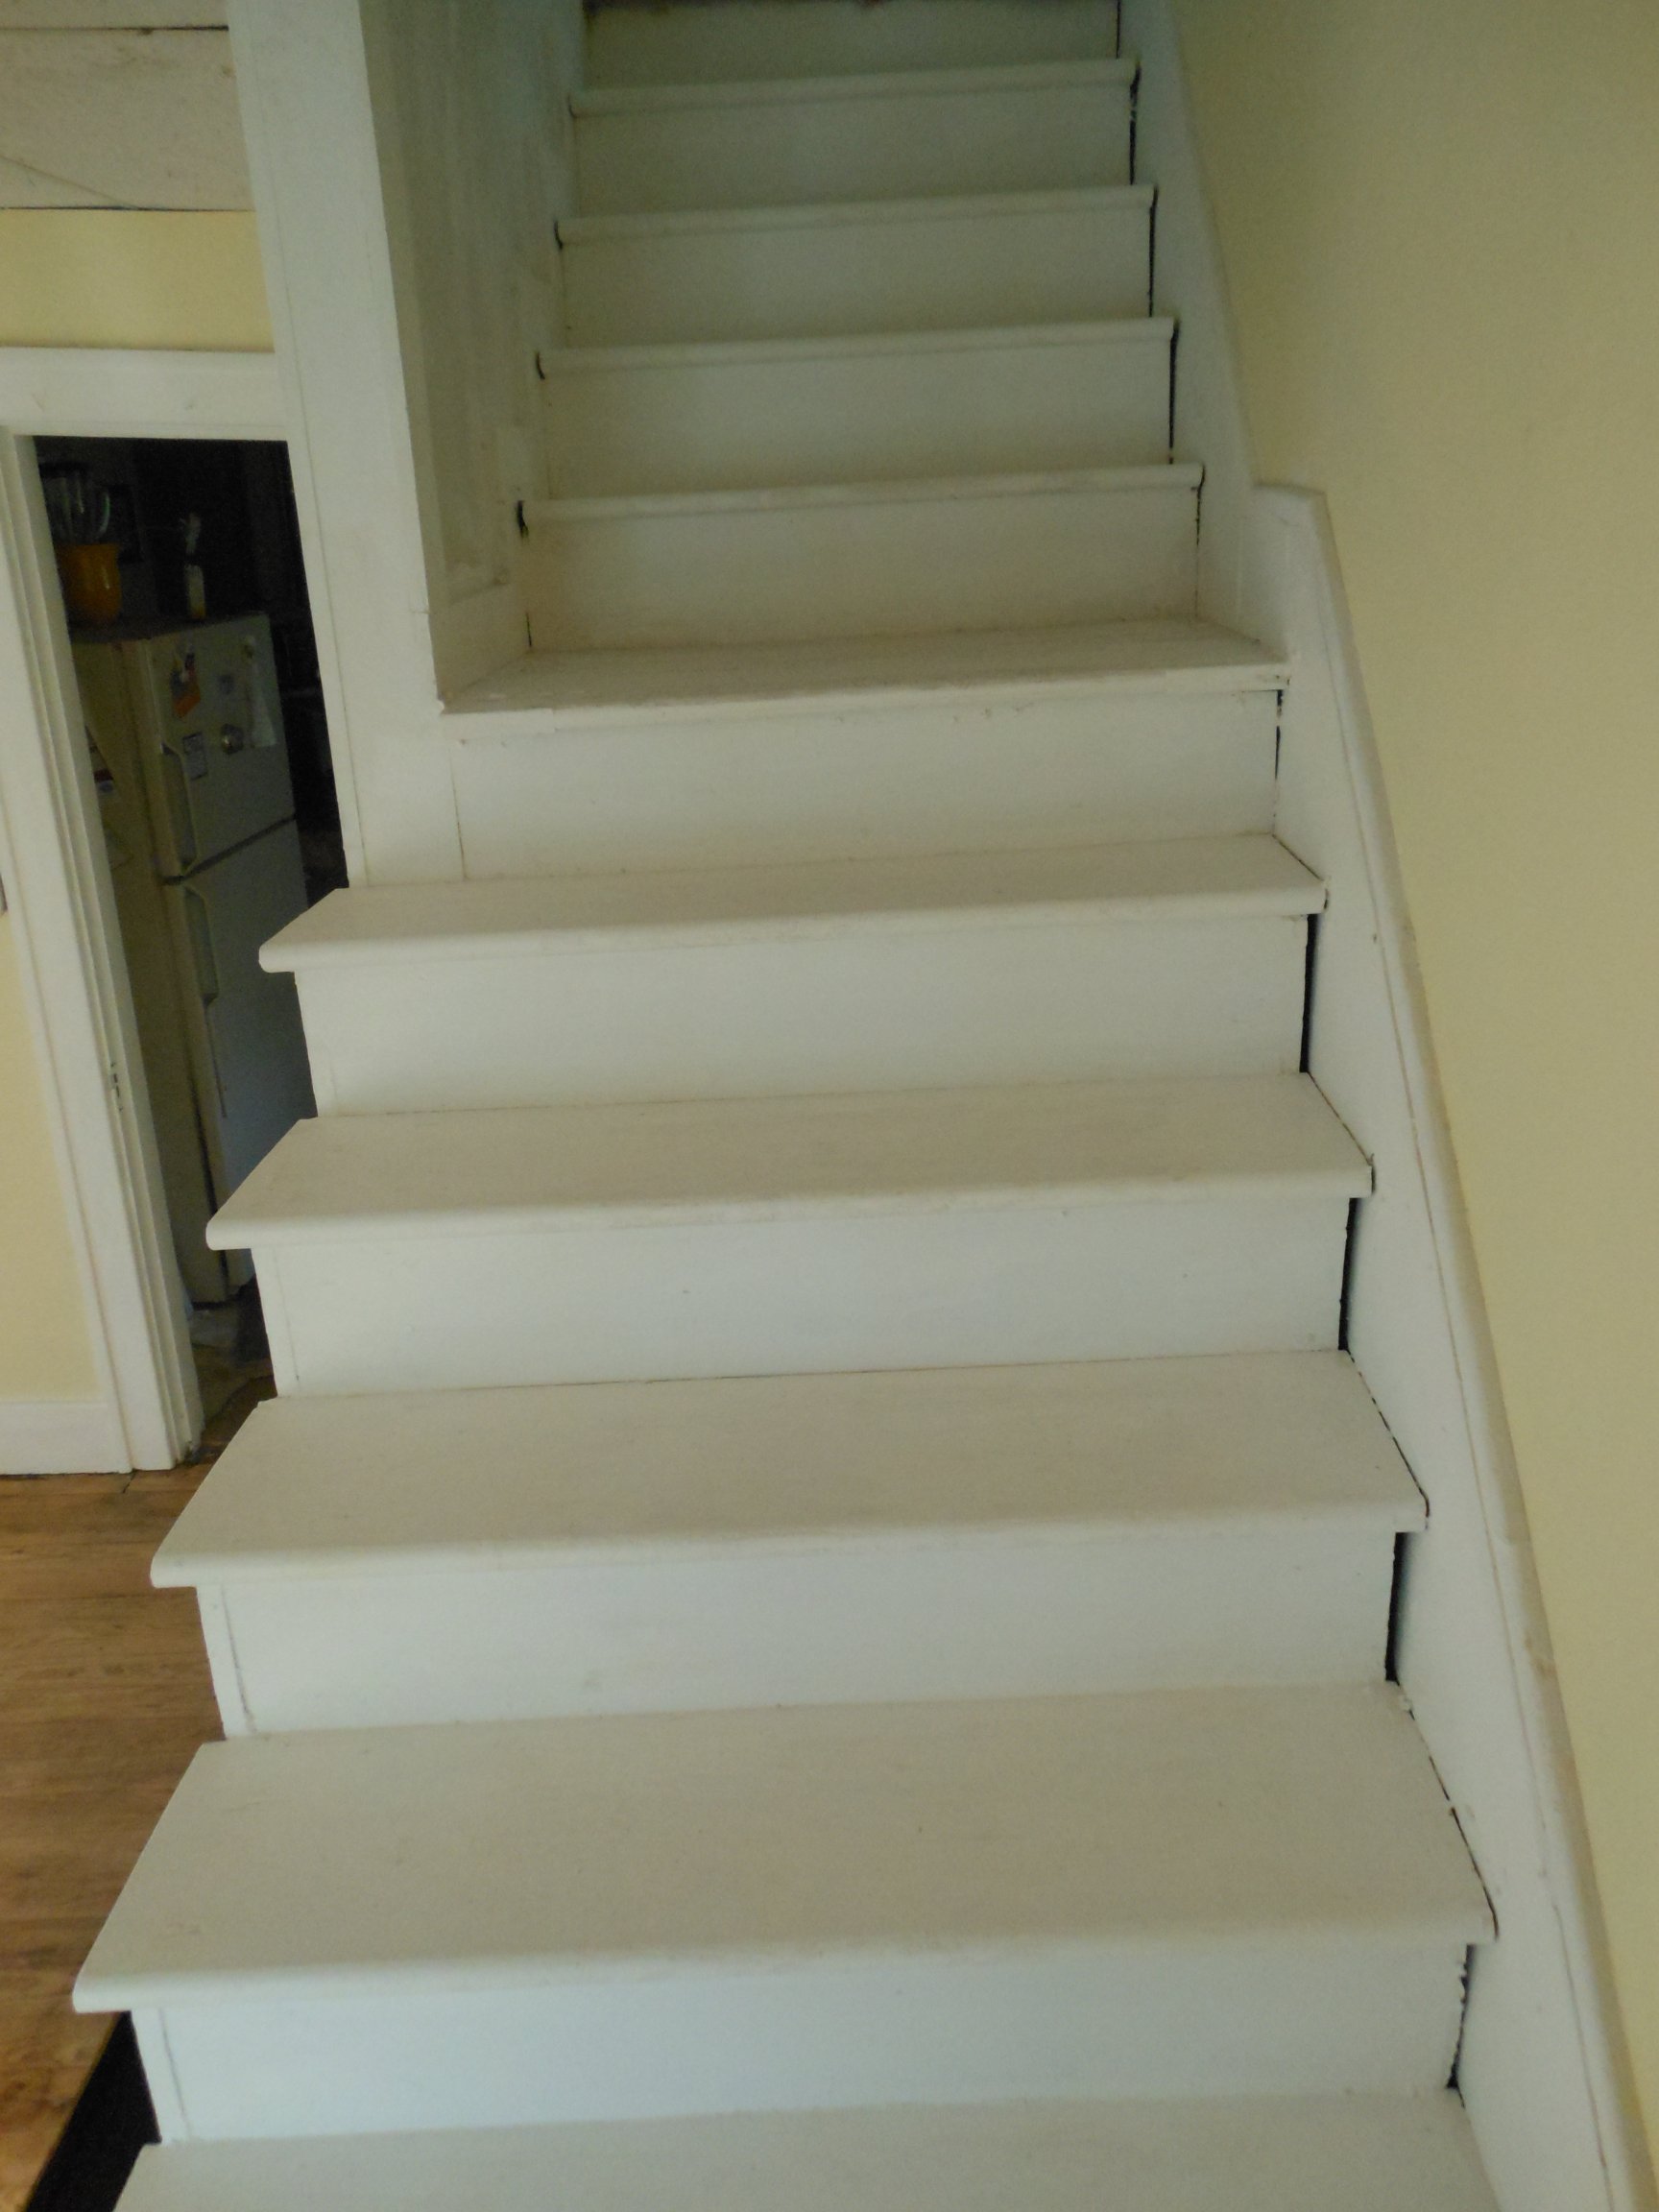
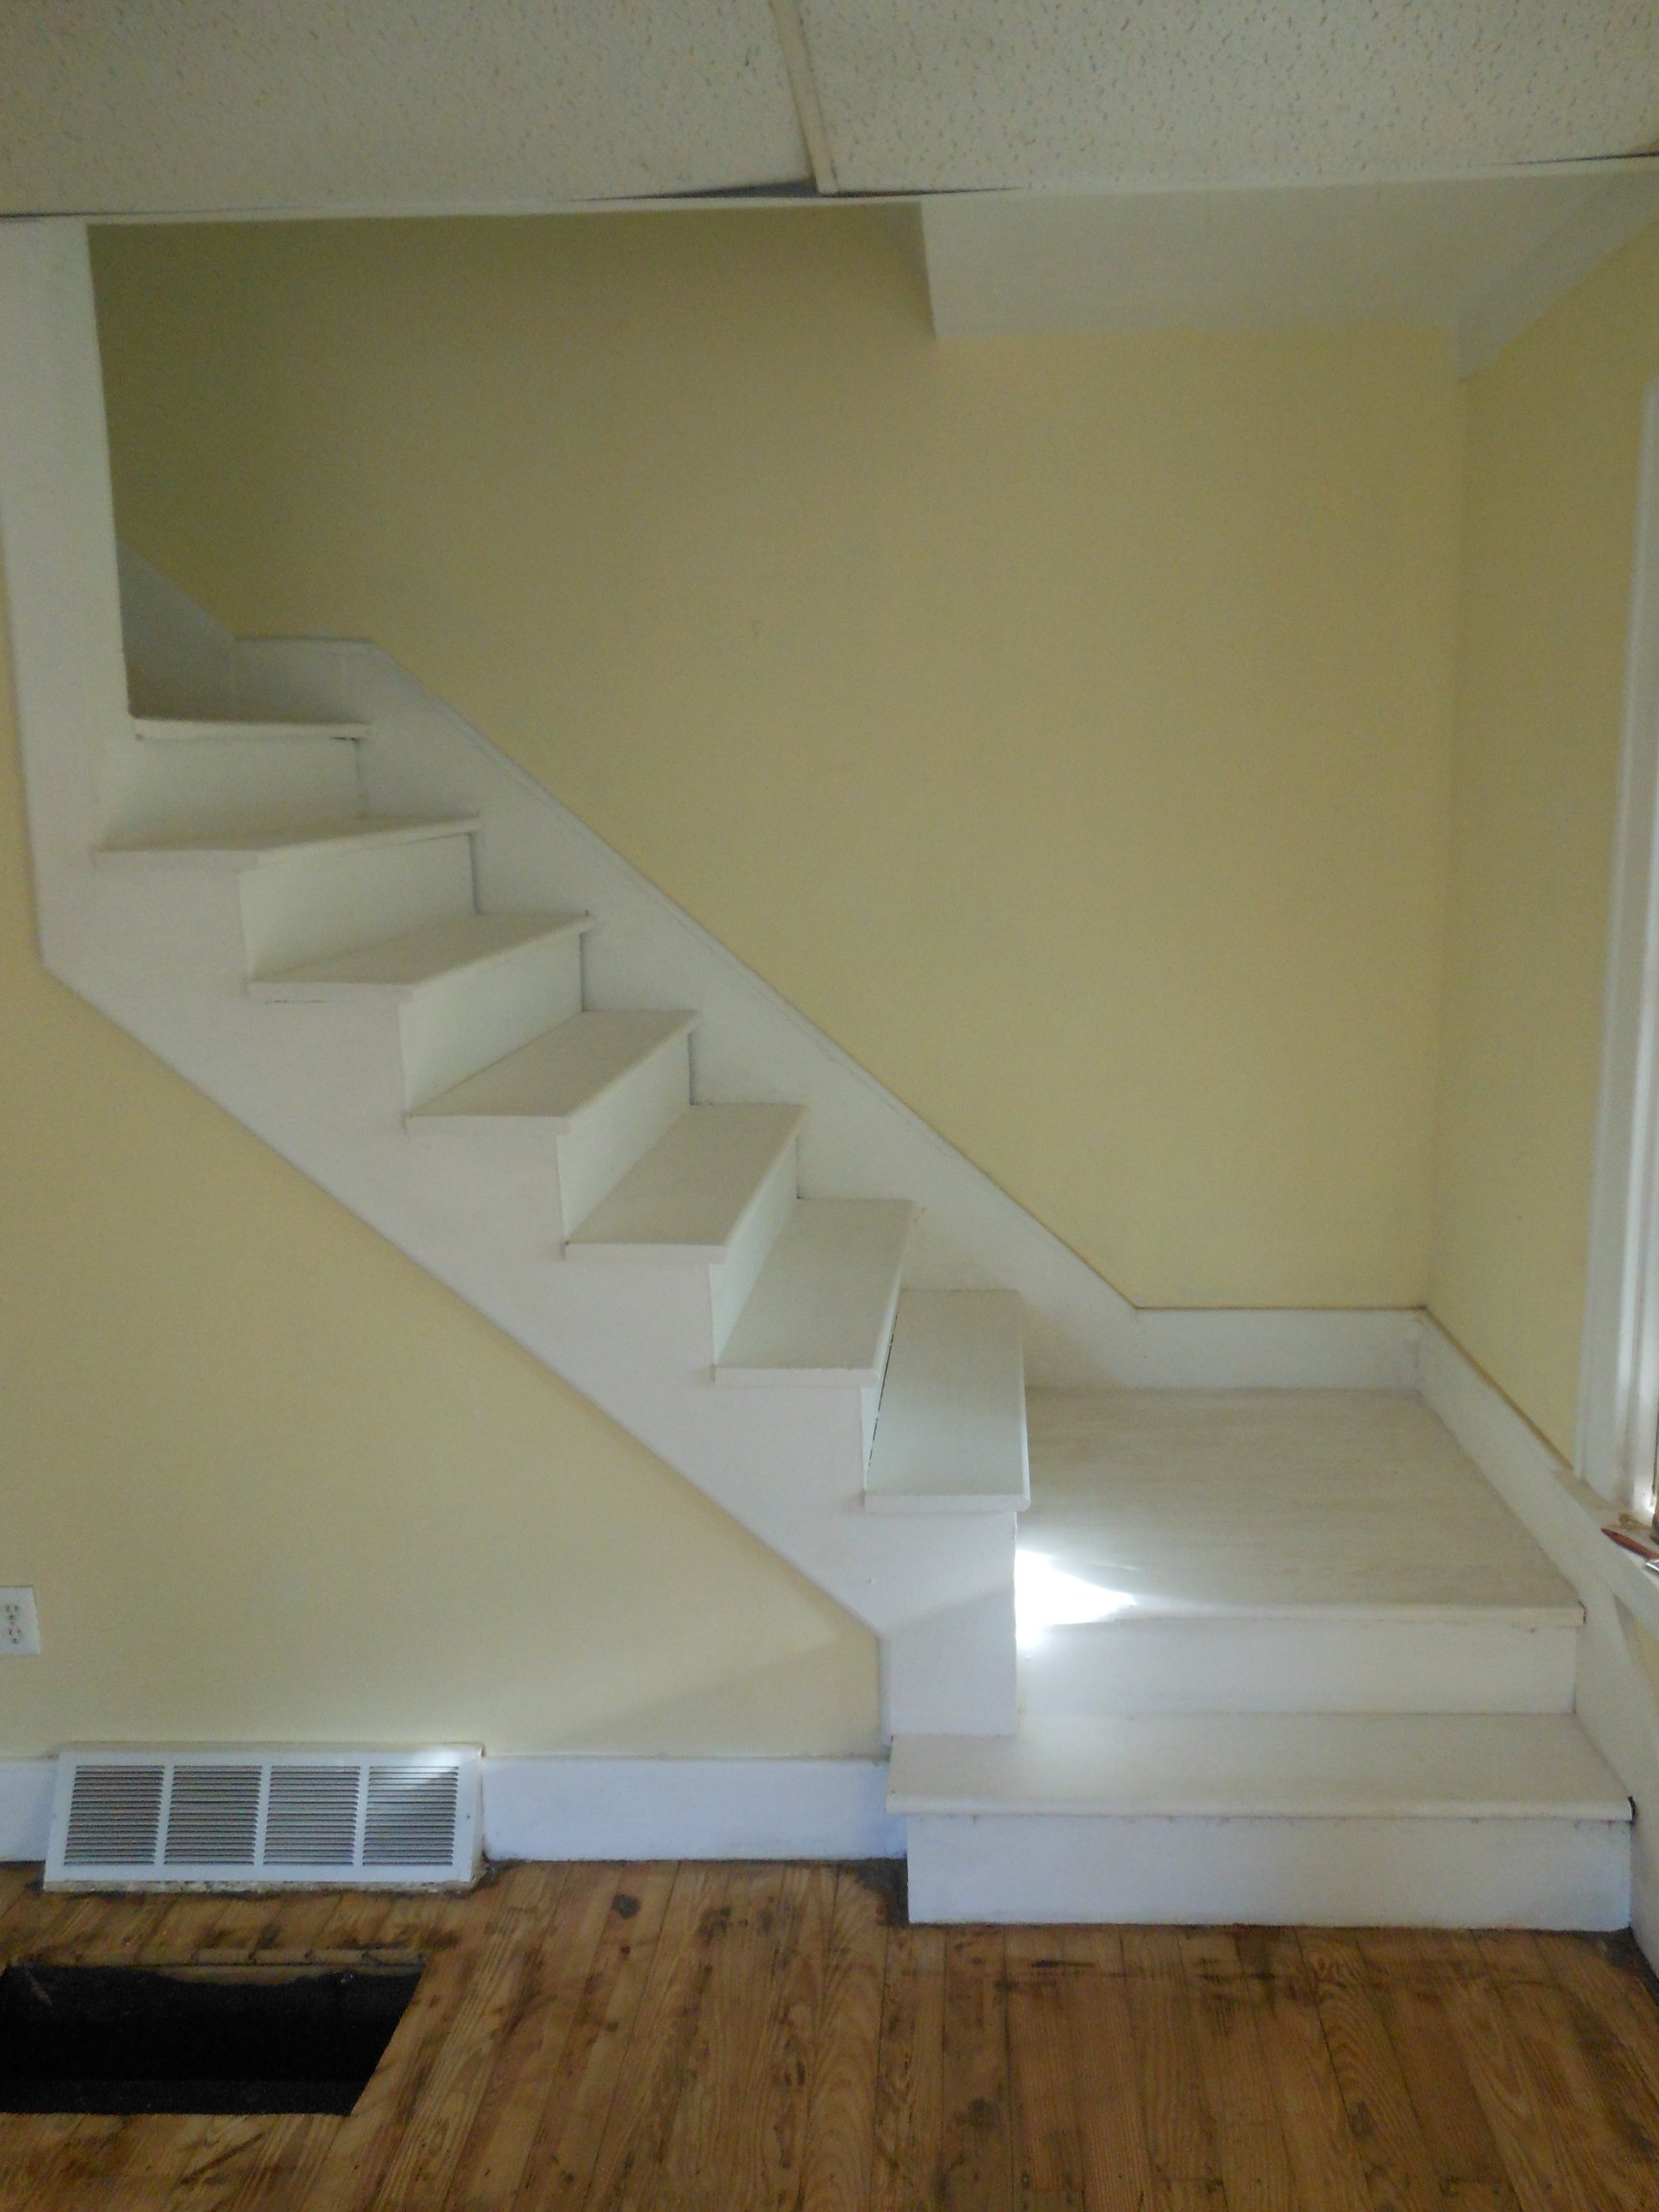
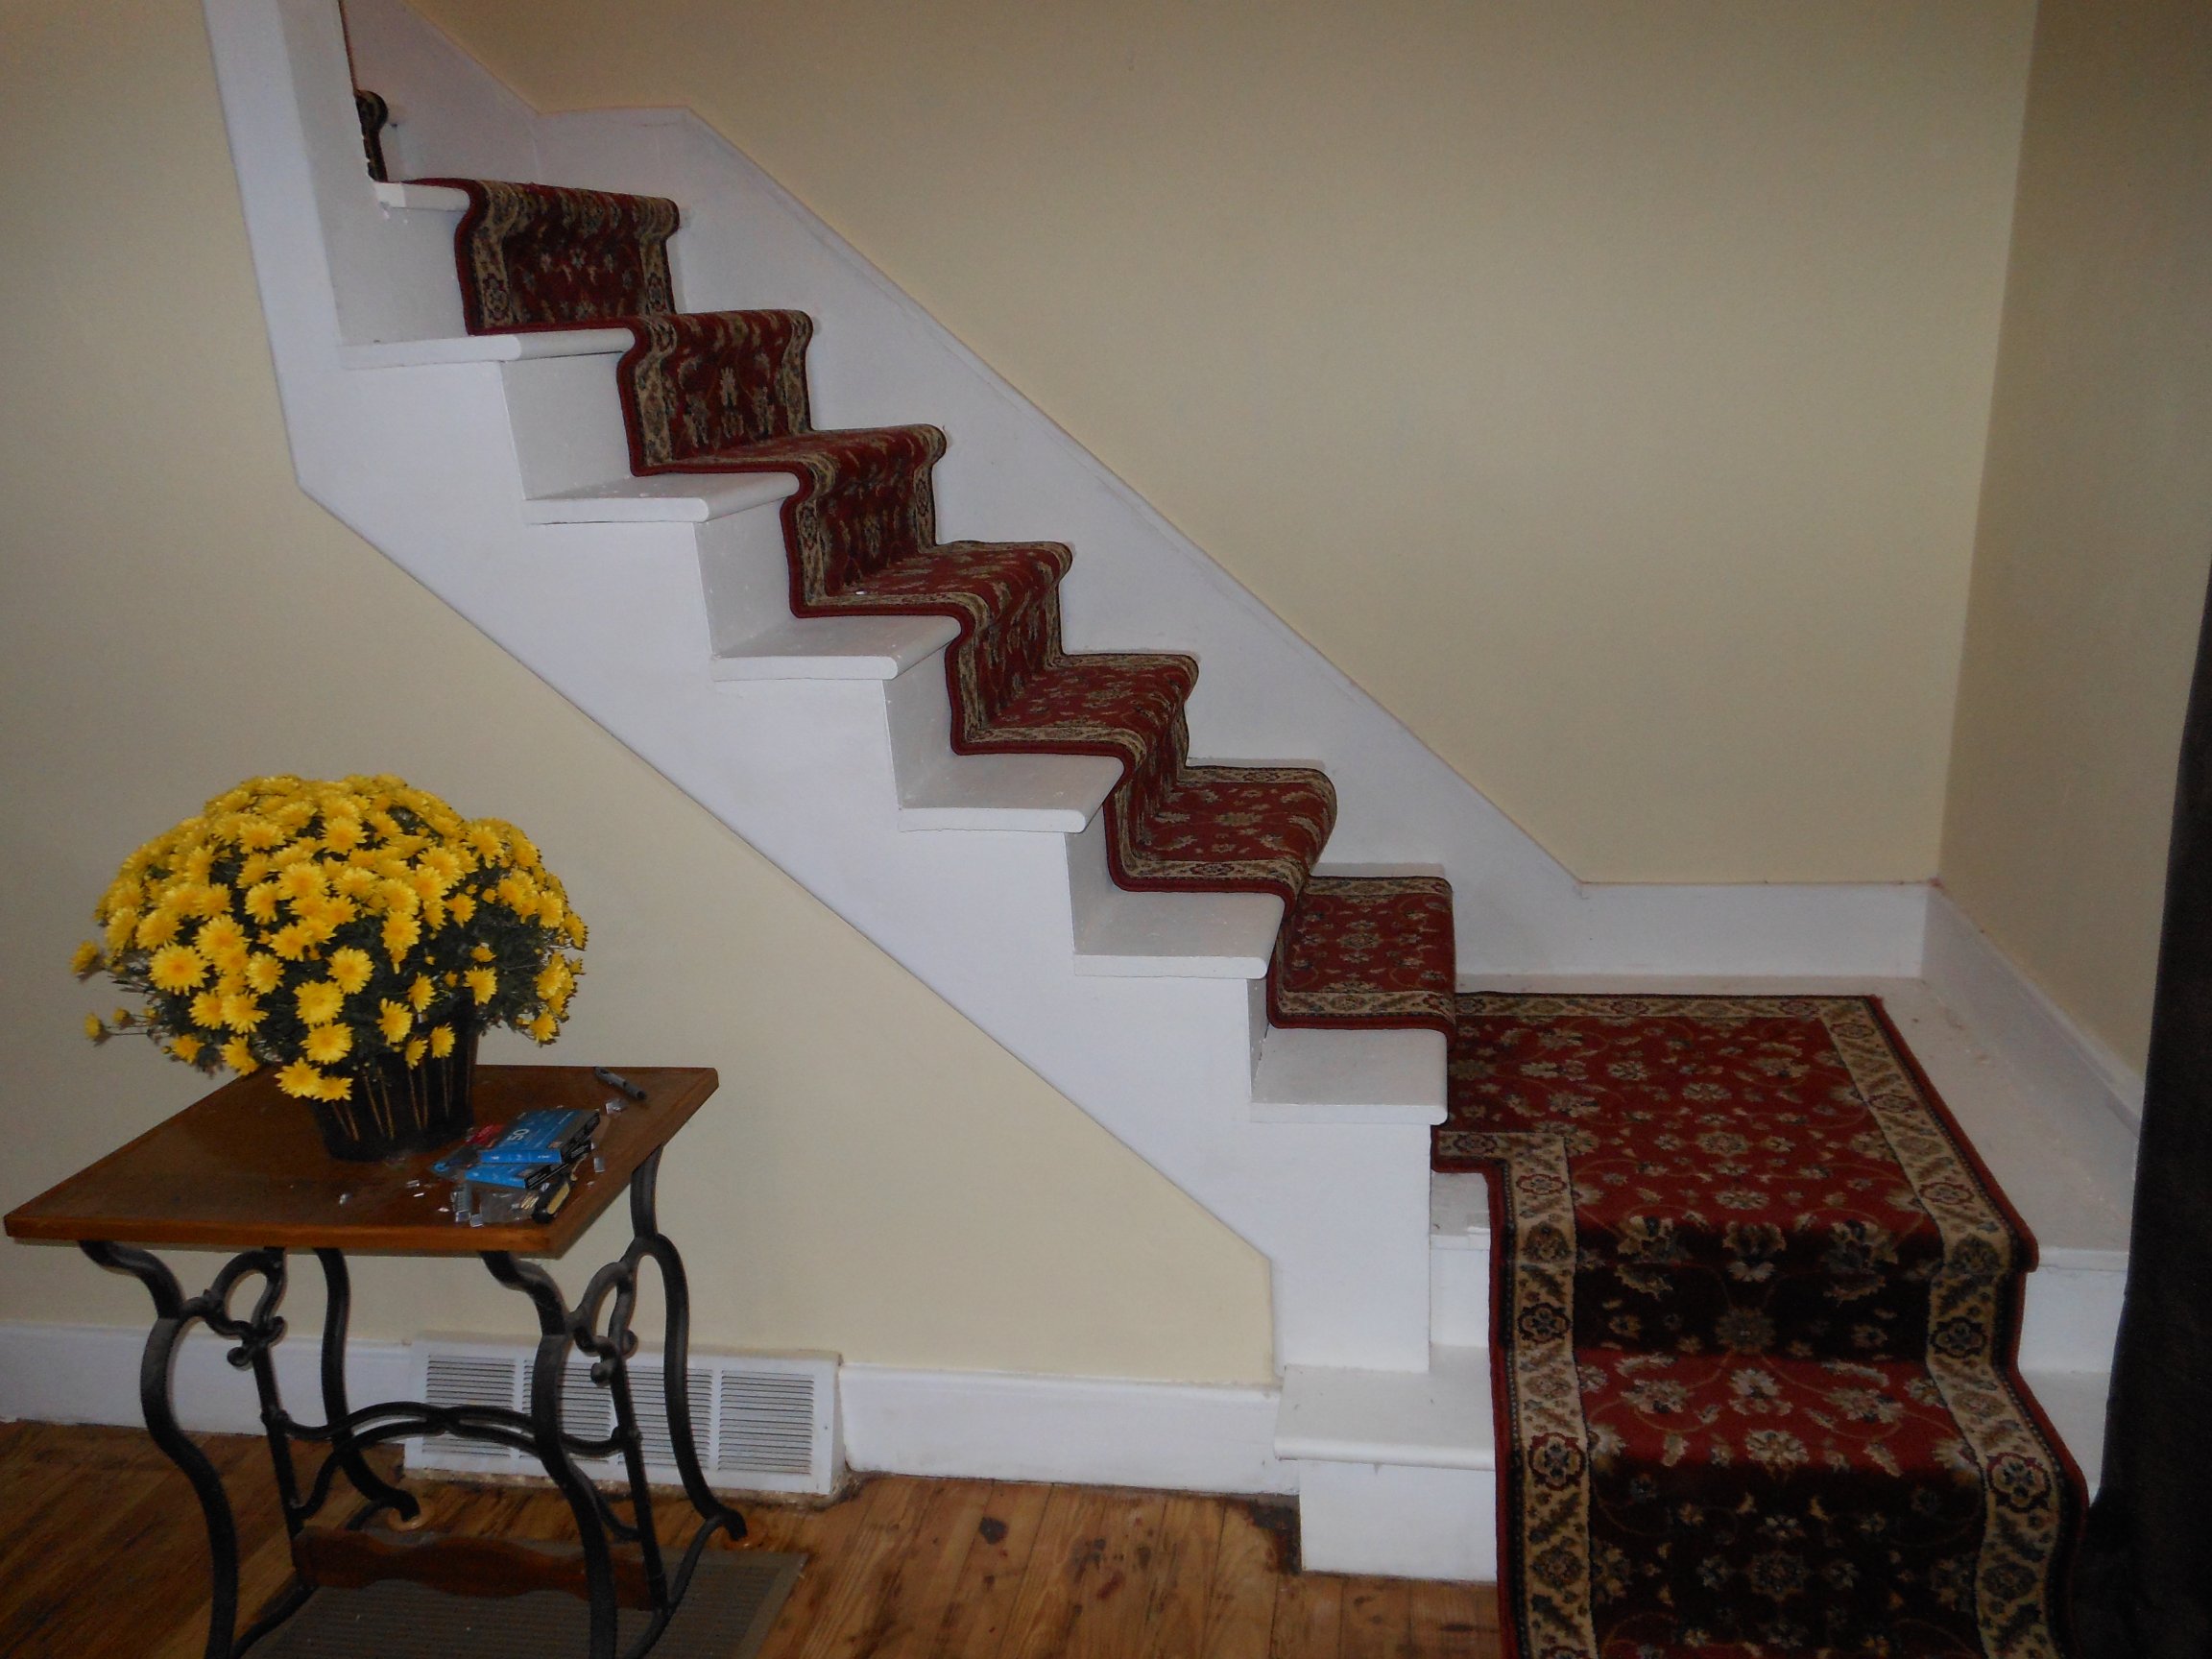
Project #3 – The Steps aka “Who Knew They Could Look So Good?”
Well, as long as we were doing the Living Room it was a natural leap of faith to do the Steps to the second floor.
After all, I had to do the walls anyway so they would match the Living Room, right?
So I started with the intention of painting the steps white, when it was suggested that shite trim with sanded wood tops would be nice.
In all honesty, I got tired. And I suddenly realized that the colors and wood topped steps and whatnot too closely resembled the house of someone whom I would rather forget at this point in time.
Just what I needed. To sit at my creative desk and look at steps that reminded me of … him.
So.
Painted steps it is.
With a carpet runner for good measure … and to make it softer on the feet in the morning.
Here are both the before and after pictures …


And because I promised more … I decided today to do the Large Bedroom upstairs. And have today, with the help of Linda and a gal who sometimes helps me, taken out all the furnishings in the room, and have taken up the carpet and padding underneath … and the linoleum that was underneath that.
There is a beautiful hardwood floor underneath it all. Just needs a little sanding and some TLC.
And you know what?
I have Before pictures.
But they will wait until the room is finished and I do the next installment of my Casa Chaos here.
Stay tuned.
var rn=Math.random();
document.write(‘‘);
document.write(‘‘);

Pingback: The Directions? | Happy Holly Project
Pingback: And The Season Begins … | Happy Holly Project
Pingback: The Second Line Of The Serenity Prayer … | Happy Holly Project
Pingback: An Antique Trunk … With Alligator Skin? « Happy Holly Project